Halloween is just around the corner, and what better way to get into the spooky spirit than with some fun and creative crafts! Whether you’re looking for simple activities to do with your little ones or engaging projects to bring Halloween decorations to life, these easy-to-make crafts are perfect for kids, especially those around 5 years old.
From adorable paper plate ghosts to colorful popsicle stick monsters, these projects are designed to be fun, slightly messy, and full of creativity. Grab your glue, scissors, and construction paper—let’s get crafting!
Fun & Easy Halloween Crafts For Kids
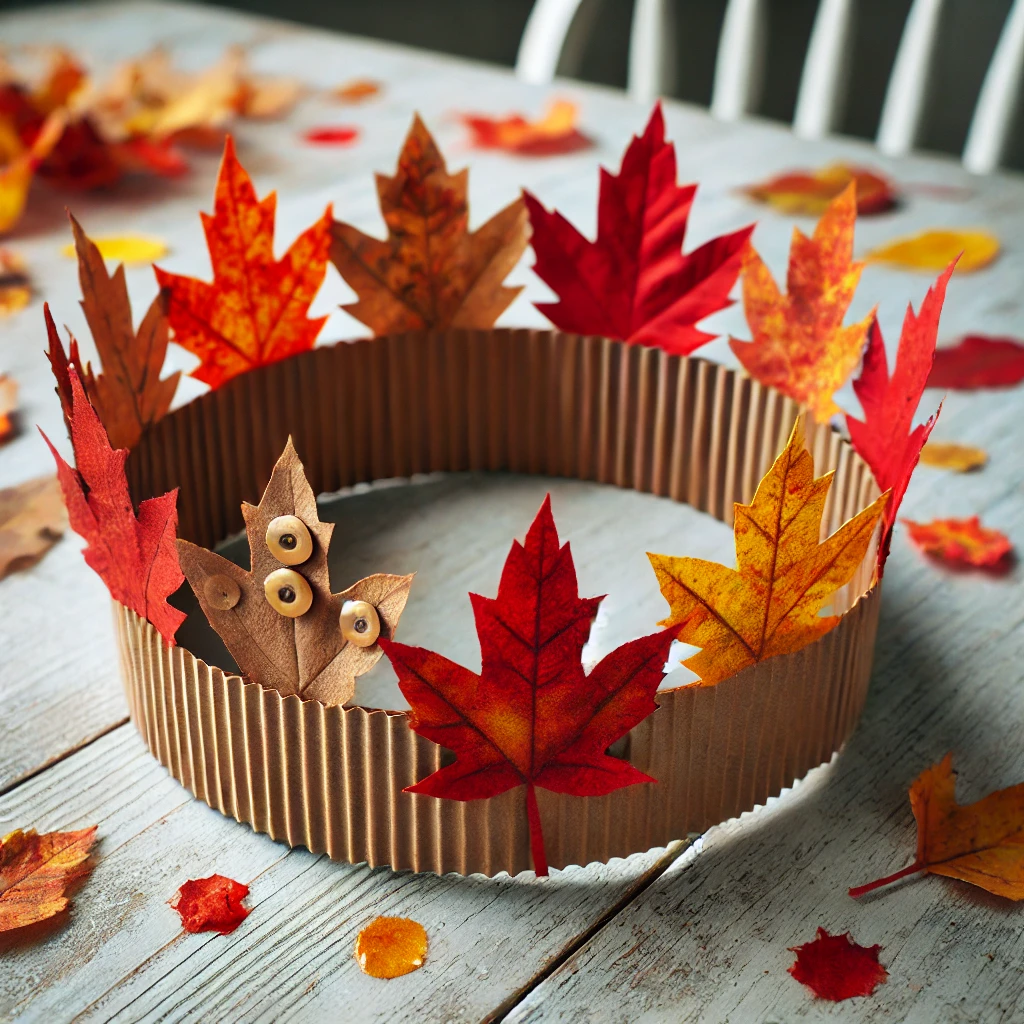
1. Leaf Crown
Materials Needed:
- Real or fake leaves (colorful fall leaves)
- Construction paper or brown paper bag (for the crown base)
- Scissors
- Glue or tape
- Stapler (optional)
Instructions:
- Make the Crown Base: Cut a strip of construction paper or a brown paper bag to fit around your child’s head like a crown. Tape or staple the ends together.
- Attach the Leaves: Collect real leaves or use fake ones. Glue or tape the leaves onto the paper strip, layering them to make a leafy crown.
- Let It Dry: Let the glue dry, and then your child can wear their fall leaf crown like royalty!
2. Paper Plate Scarecrow

Materials Needed:
- Paper plate
- Construction paper (yellow, orange, brown, and any other colors)
- Googly eyes
- Markers
- Glue
- Scissors
Instructions:
- Create the Face: On the paper plate, draw a happy scarecrow face. Stick googly eyes onto the face or draw eyes with markers.
- Make the Hat: Cut a triangle shape from brown construction paper to make a hat for the scarecrow. Glue it to the top of the plate.
- Add Hair: Cut strips of yellow construction paper to create the scarecrow’s straw hair. Glue these strips around the edges of the hat.
- Decorate: Use markers or paper shapes to decorate the scarecrow’s hat and face. You can even add a little orange triangle nose!
3. Acorn Necklace
Materials Needed:
- Real acorns (or acorn tops)
- String or yarn
- Paint or markers
- Toothpick or small needle (for poking holes in acorns)
Instructions:
- Prepare the Acorns: Carefully poke a small hole through the top of each acorn using a toothpick or needle.
- Paint the Acorns: Let the kids paint or color the acorns with bright fall colors like red, orange, and yellow.
- String the Acorns: Once the paint dries, thread the acorns onto a piece of string or yarn. Tie the ends of the string together to create a necklace!
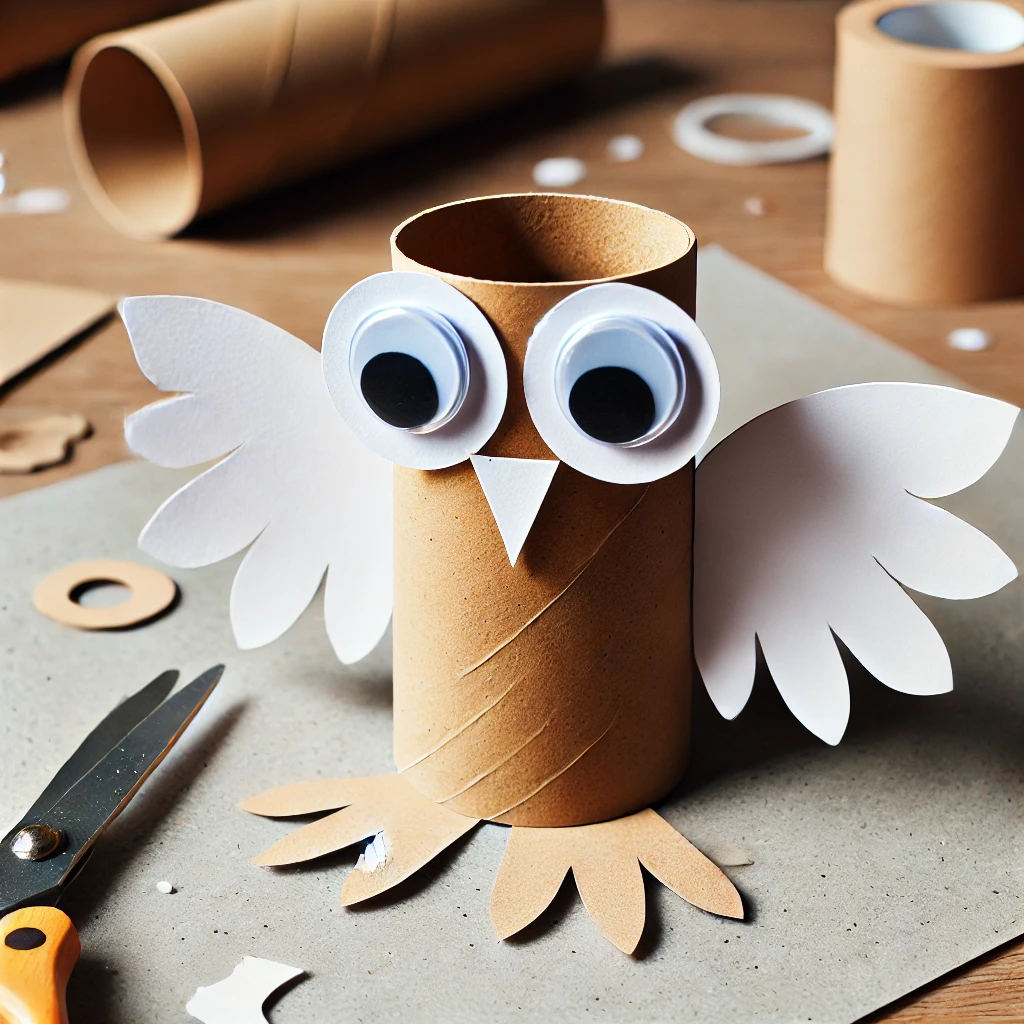
4. Toilet Paper Roll Owls
Materials Needed:
- Empty toilet paper rolls
- Construction paper or colored cardstock
- Markers
- Glue
- Scissors
- Googly eyes (optional)
Instructions:
- Prepare the Roll: Take a toilet paper roll and fold down the top to make two points (the owl’s ears).
- Create the Body: Cover the toilet paper roll in construction paper by gluing it around the outside.
- Decorate the Owl: Add large paper or googly eyes, a triangle paper beak, and wings cut from construction paper. Draw details on the owl with markers if you like.
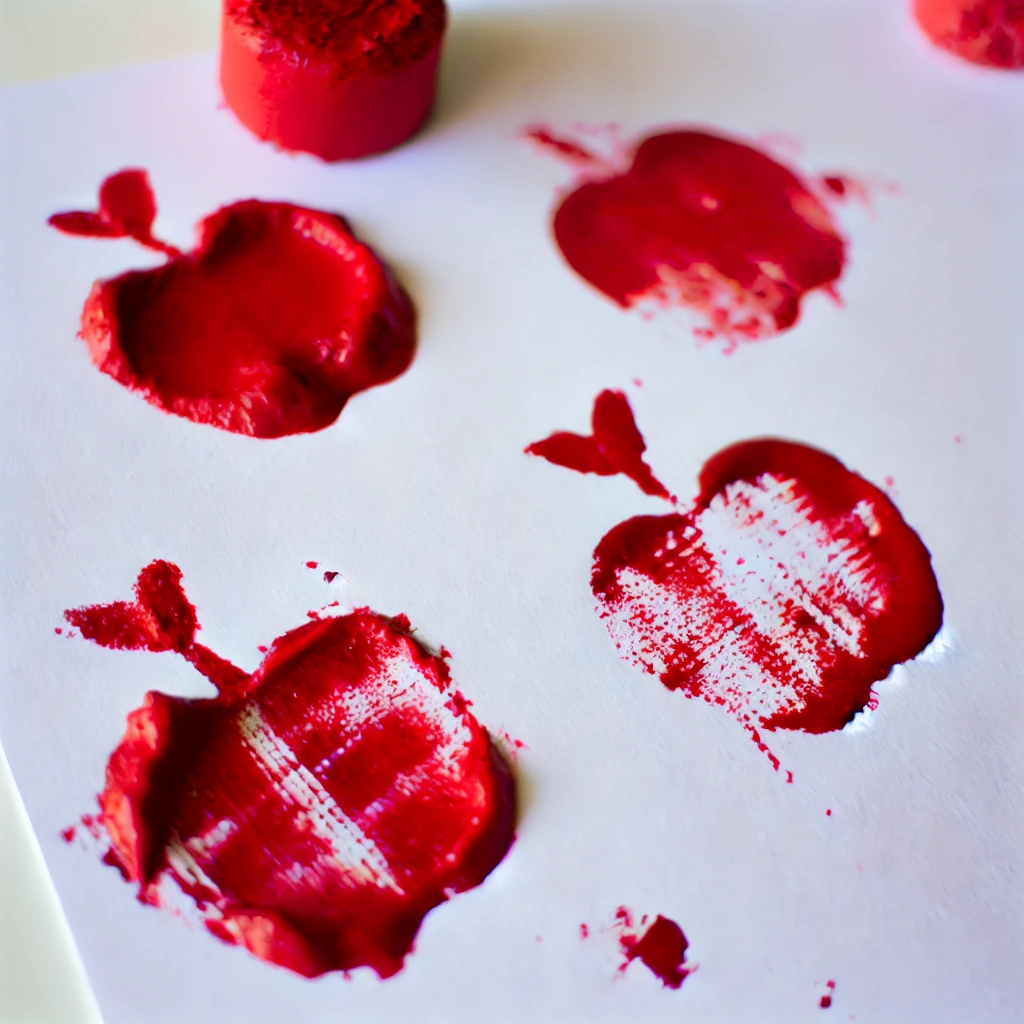
4. Apple Stamping
Materials Needed:
- Apples (cut in half)
- Washable paint (red, green, and yellow)
- Paper plates (for the paint)
- White paper
- Markers (optional)
Instructions:
- Prepare the Apples: Cut apples in half and pour paint onto the paper plates.
- Dip and Stamp: Dip the flat side of each apple into the paint and press it onto the white paper to create apple shapes.
- Add Details: Once the paint dries, use markers to draw stems and leaves on the apple prints.
5. Pumpkin Patch Handprint Art

Materials Needed:
- White construction paper or canvas
- Orange, green, and brown washable paint
- Paintbrushes
- Paper plates (for holding paint)
- Black marker (optional, for detailing)
- Wet wipes or towel for clean-up
Instructions:
- Prepare the Paper: Lay out your paper or canvas flat on a table.
- Paint the Pumpkins: Pour orange paint onto a paper plate. Have the kids dip their palms in the orange paint and press their hands onto the paper. These will be the pumpkins. Make as many handprint pumpkins as you like!
- Add Stems: Using green paint and a paintbrush, add little stems on top of each pumpkin.
- Create the Ground: With a bit of brown paint, dab or paint some lines under the pumpkins to create the ground.
- Optional Detail: Once the paint dries, you can use a black marker to add jack-o’-lantern faces.
- Display: Let the artwork dry, then hang it up to enjoy your pumpkin patch creation!
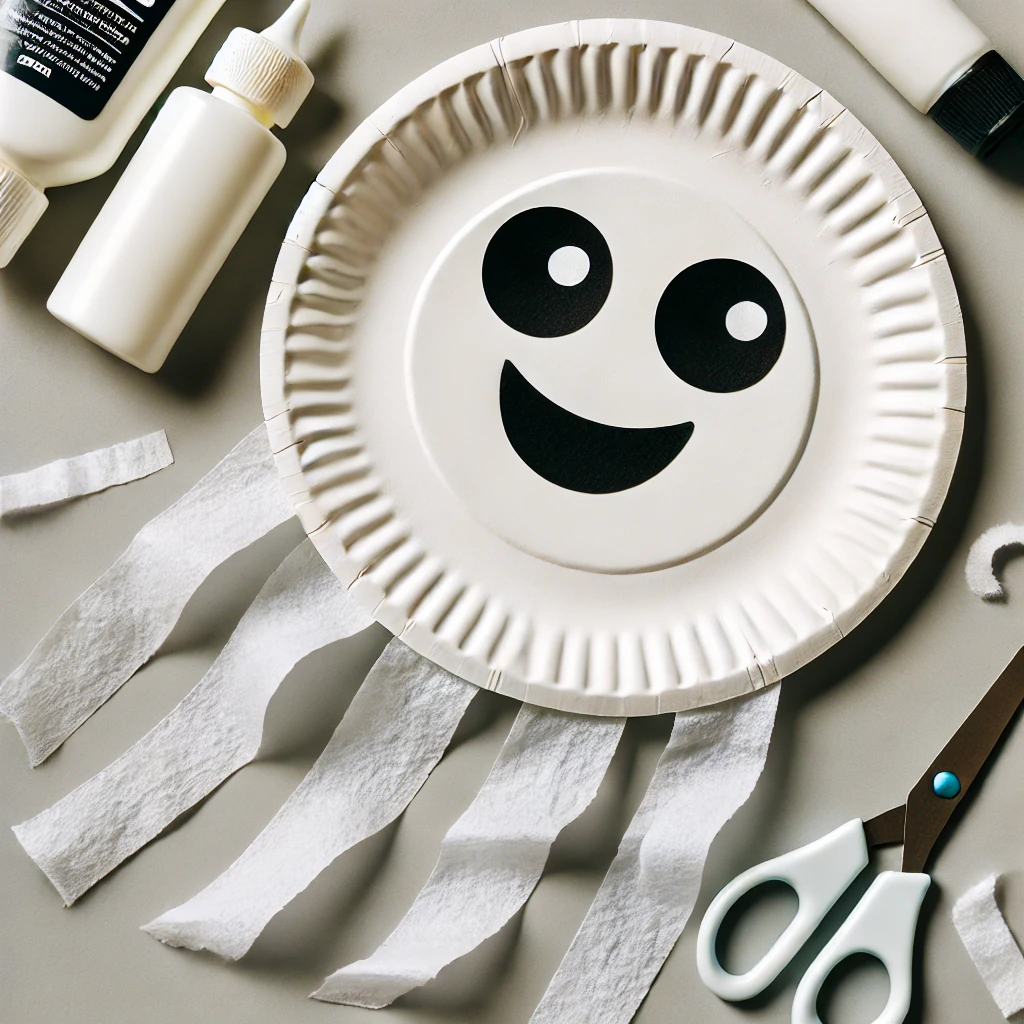
6. Paper Plate Ghosts
Materials:
- White paper plates
- White streamers or tissue paper
- Black construction paper (for eyes and mouth)
- Glue
- Scissors
Instructions:
- Cut out eyes and a mouth from black construction paper.
- Glue them onto the paper plate to make a ghost face.
- Attach strips of white streamers or tissue paper to the bottom of the plate to create the ghost’s body.
- Hang them up for spooky decorations!
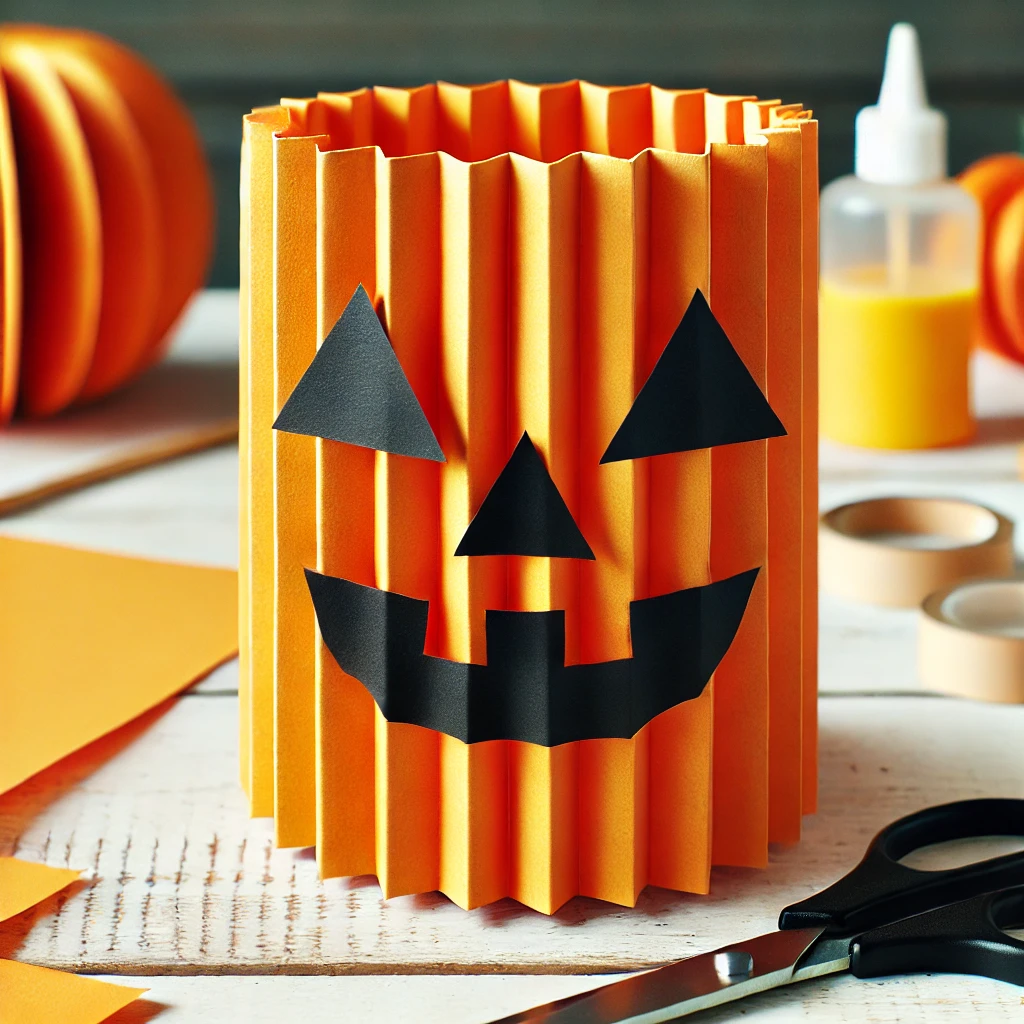
7. Pumpkin Paper Lanterns
Materials:
- Orange construction paper
- Black construction paper (for face)
- Scissors
- Glue
- Tape
- String (optional for hanging)
Instructions:
- Fold the orange construction paper in half lengthwise.
- Make slits along the fold (but don’t cut all the way through).
- Unfold the paper and form it into a cylinder by taping the edges together.
- Add a black paper face with triangles for eyes and a mouth.
- Tape or glue a handle on top if you’d like to hang it.
8. Spider Web Craft
Materials:
- Black construction paper
- White yarn or string
- Scissors
- Glue
- Plastic spiders or cut-out paper spiders
Instructions:
- Cut a large circle from the black construction paper.
- Glue white yarn in a crisscross pattern to create a web.
- Attach plastic spiders or paper spider cutouts to the web.
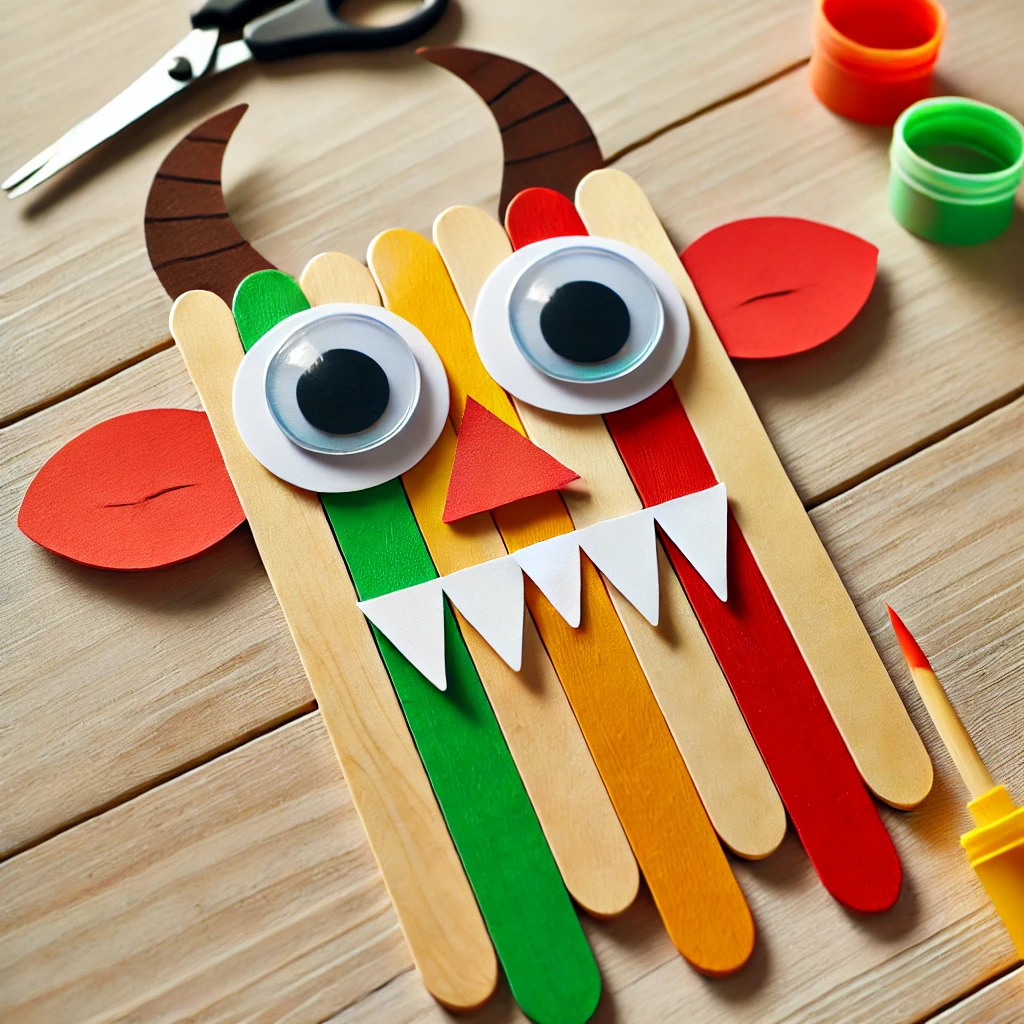
9. Popsicle Stick Monsters
Materials:
- Popsicle sticks
- Paint or markers
- Googly eyes
- Glue
- Construction paper
Instructions:
- Paint or color the popsicle sticks in bright colors (green for Frankenstein, purple for a monster, etc.).
- Glue googly eyes on the sticks and add paper shapes like horns, teeth, or hair for each monster.
10. Egg Carton Bats
Materials:
- Egg carton (cut into sections of three)
- Black paint
- Black construction paper (for wings)
- Googly eyes
- Glue
- String (optional for hanging)
Instructions:
- Cut the egg carton into sections of three (for the bat’s body).
- Paint the sections black and let them dry.
- Attach black paper wings and googly eyes to each section.
- Optionally, add a string to hang your bats around the house.
Before you go, don’t forget to check out the fun Halloween games here.
Mega Emotion Bundle Sale
Before you go, don’t forget to check out the Mega Emotion Bundle used for helping children manage anxiety and develop a growth mindset attitude

Was this helpful?
Good job! Please give your positive feedback
How could we improve this post? Please Help us.