Discover the joy and fulfillment of crafting with this guide to unique craft ideas for adults. Whether you’re looking to unwind, express your creativity, or learn new skills, there’s offers a variety of engaging projects to inspire your artistic journey.
Fun craft ideas for adults
1. Hand-Painted Glasses or Jar
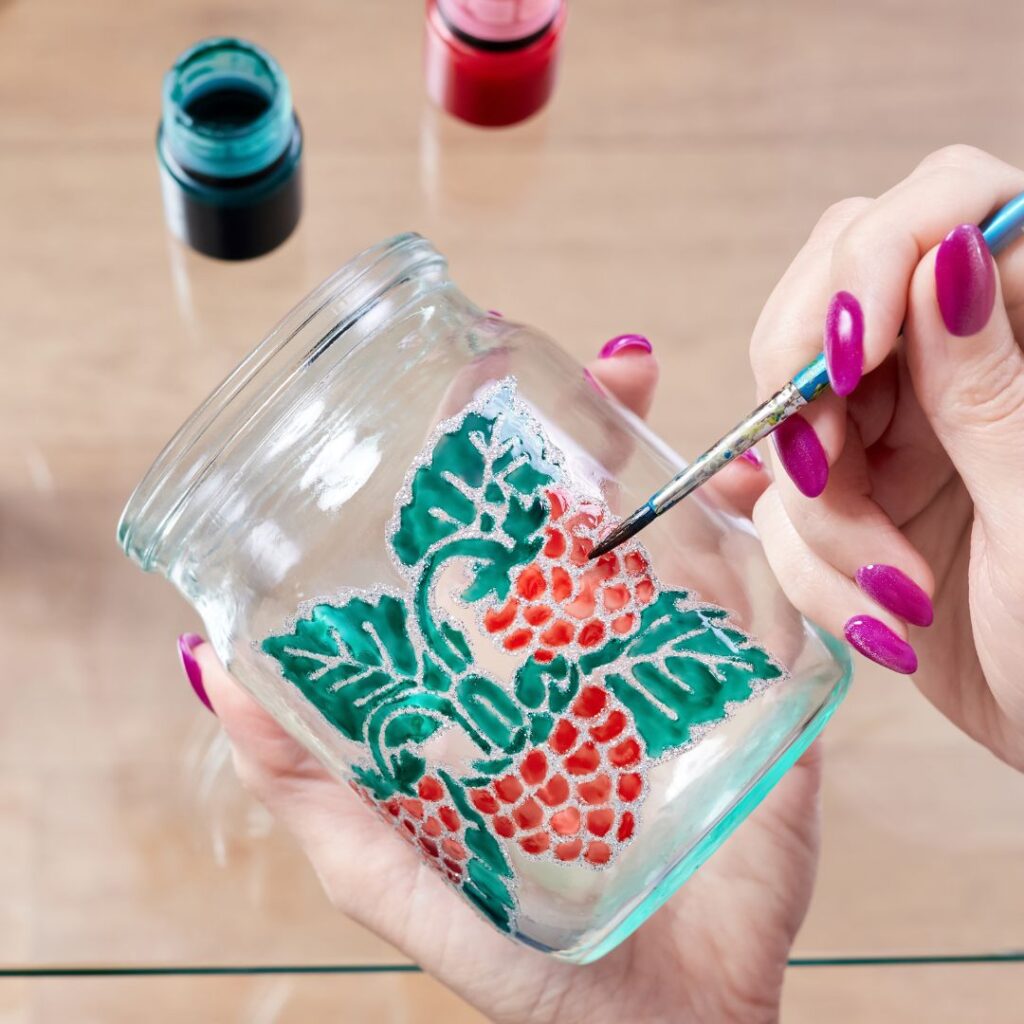
Materials Needed:
- Plain jar
- Enamel paint (suitable for glass)
- Paintbrushes
- Painter’s tape (optional, for designs)
- Oven (for setting the paint)
Instructions:
- Clean the glasses thoroughly and dry them.
- Use painter’s tape to mark off any areas you don’t want to paint.
- Paint your design onto the glass. You can opt for abstract patterns, floral designs, or anything that inspires you.
- Allow the paint to dry completely.
2. Customized Tote Bags
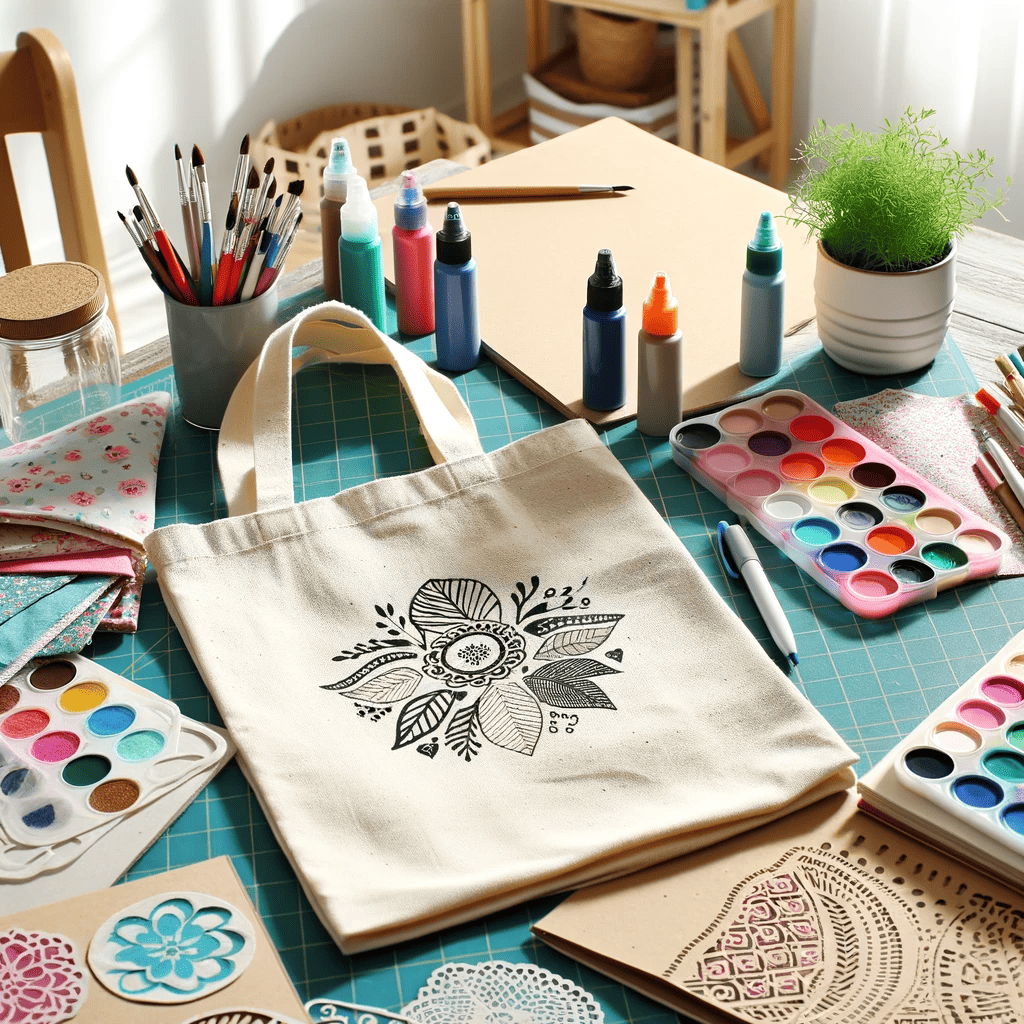
Materials Needed:
- Plain canvas tote bags
- Fabric paint or markers
- Stencils (optional)
- Iron (to set the paint)
Instructions:
- Iron the tote bag to remove any wrinkles.
- Plan your design – use stencils for specific shapes or freehand for a personal touch.
- Paint or draw your design onto the tote bag.
- Allow the paint to dry, then set it with an iron if necessary (check paint instructions).
3. Macrame Plant Hangers

Materials Needed:
- Macrame cord
- Scissors
- Measuring tape
- A ring (for hanging)
- Plant pot
Instructions:
- Cut several lengths of macrame cord (length depends on desired final size).
- Tie the cords to the ring using a gathering knot.
- Create the hanger body using macrame knots like square knots and spiral knots.
- Make a basket at the bottom to hold the plant pot.
- Hang and insert your plant pot.
4. Homemade Scented Candles
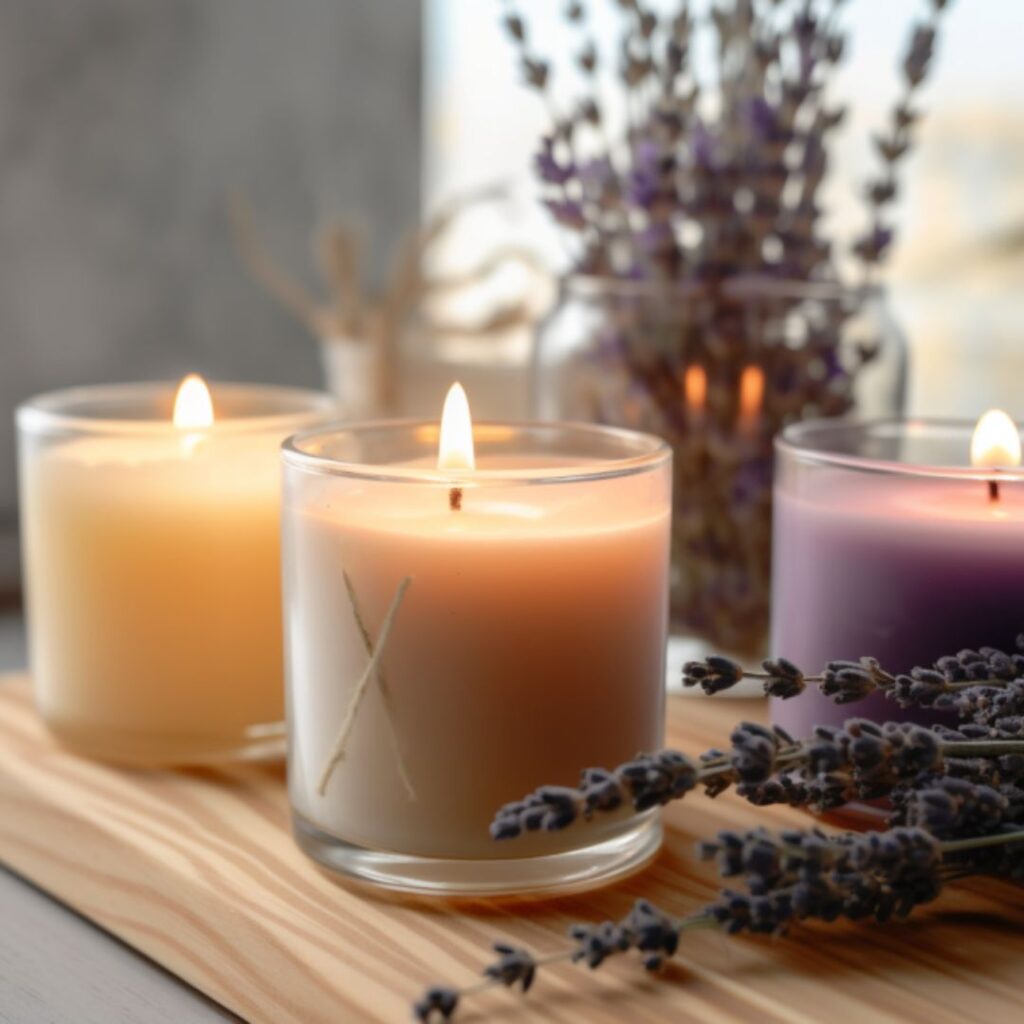
Materials Needed:
- Soy wax flakes
- Wick
- Fragrance oils
- A container (jar, tin, etc.)
- Double boiler
Instructions:
- Melt the soy wax in a double boiler.
- Add fragrance oils once the wax is melted.
- Attach the wick to the bottom of your container.
- Pour the melted wax into the container.
- Allow the wax to cool and harden, then trim the wick.
5. Beaded Jewelry
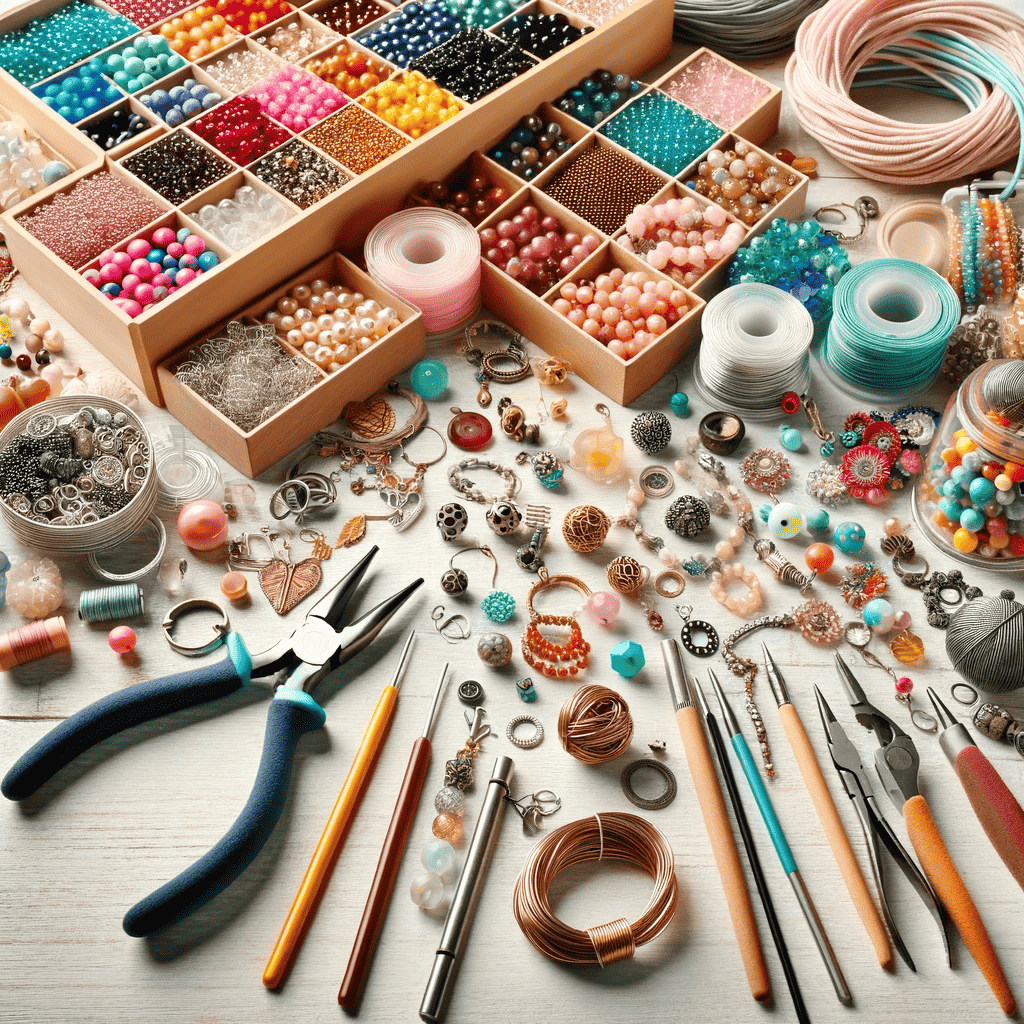
Materials Needed:
- Beads (various sizes and colors)
- Jewelry wire or thread
- Clasps and jewelry findings
- Needle (if using thread)
- Jewelry pliers
Instructions:
- Design your jewelry layout.
- Cut a length of wire or thread.
- String beads according to your design.
- Attach clasps and findings using the pliers.
6. Personalized Greeting Cards
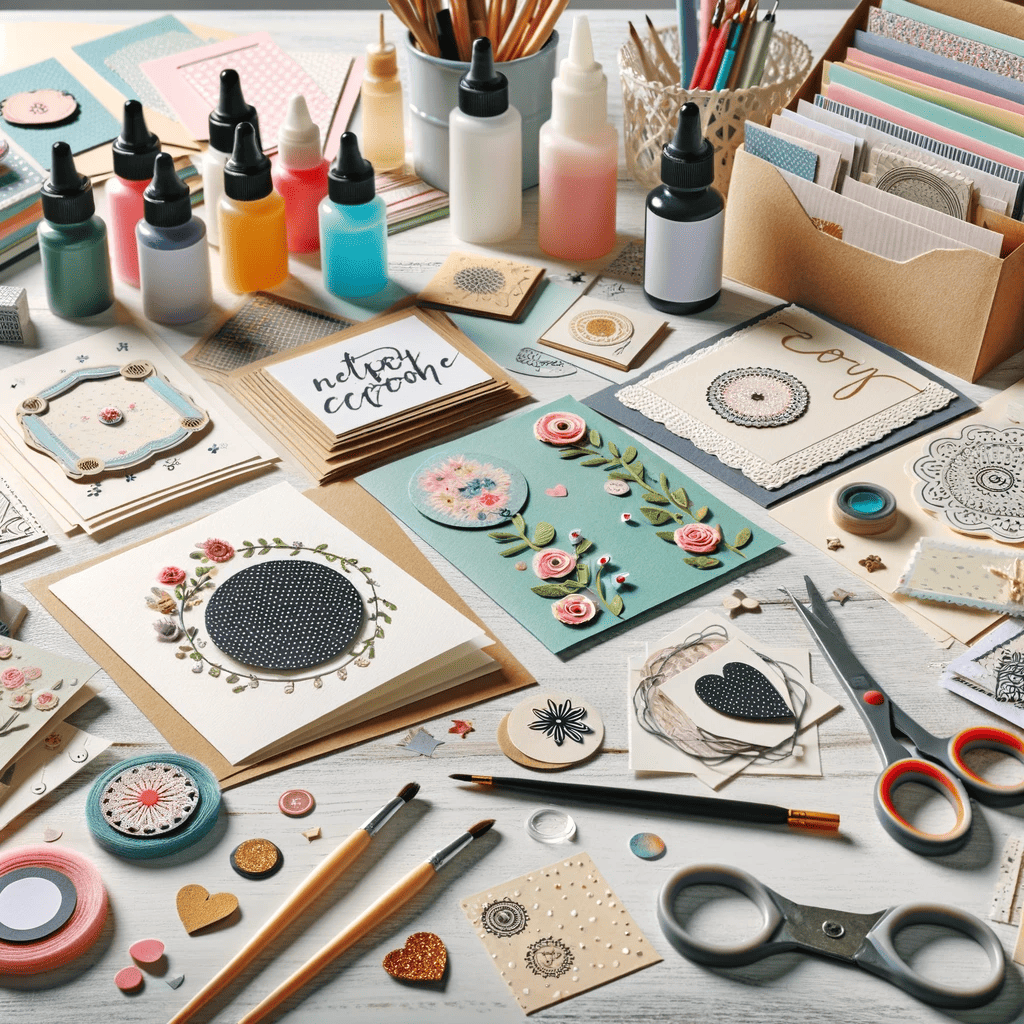
Materials Needed:
- Blank cards and envelopes
- Decorative paper
- Glue
- Stamps and ink
- Embellishments (ribbons, stickers, etc.)
Instructions:
- Cut and glue decorative paper to the front of the card.
- Use stamps and ink to add messages or designs.
- Add embellishments to enhance the design.
- Write your personal message inside.
7. Knitted or Crocheted Items
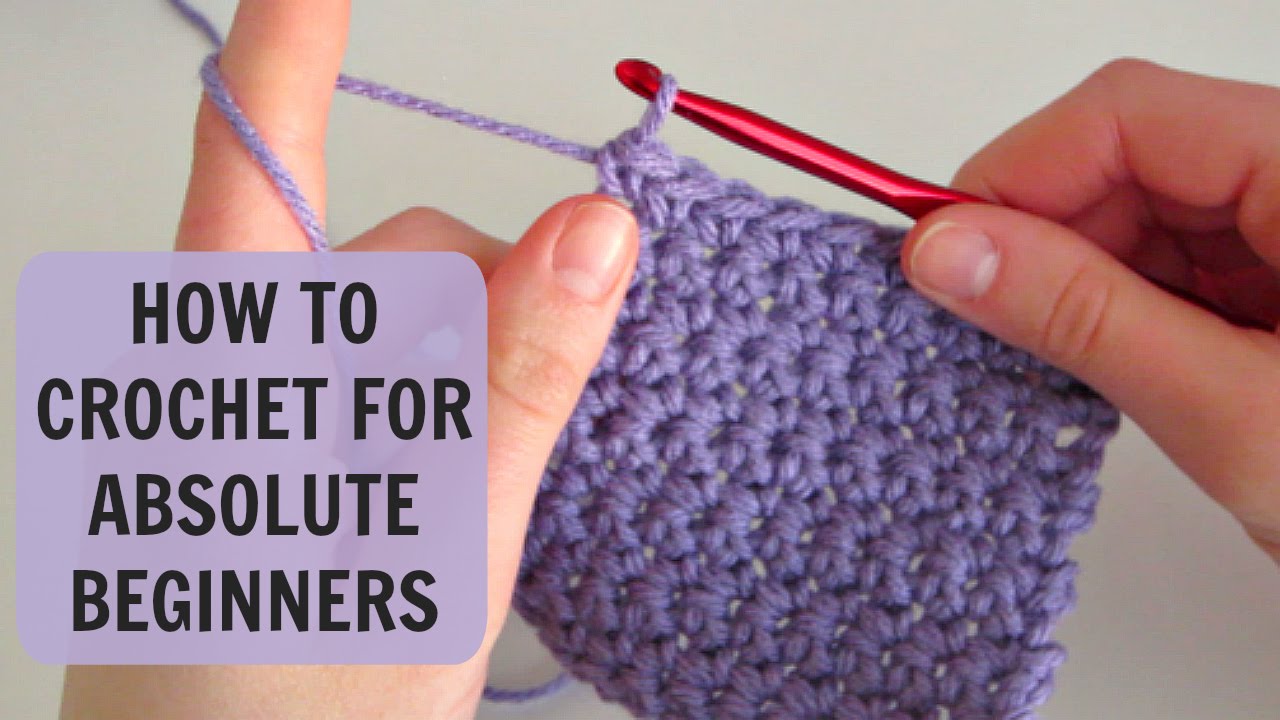
Materials Needed:
- Yarn
- Knitting needles or crochet hooks
- Patterns (for specific projects)
Instructions:
- Choose a pattern for your project (scarf, hat, blanket, etc.).
- Follow the pattern instructions to knit or crochet your item.
8. Pottery Painting
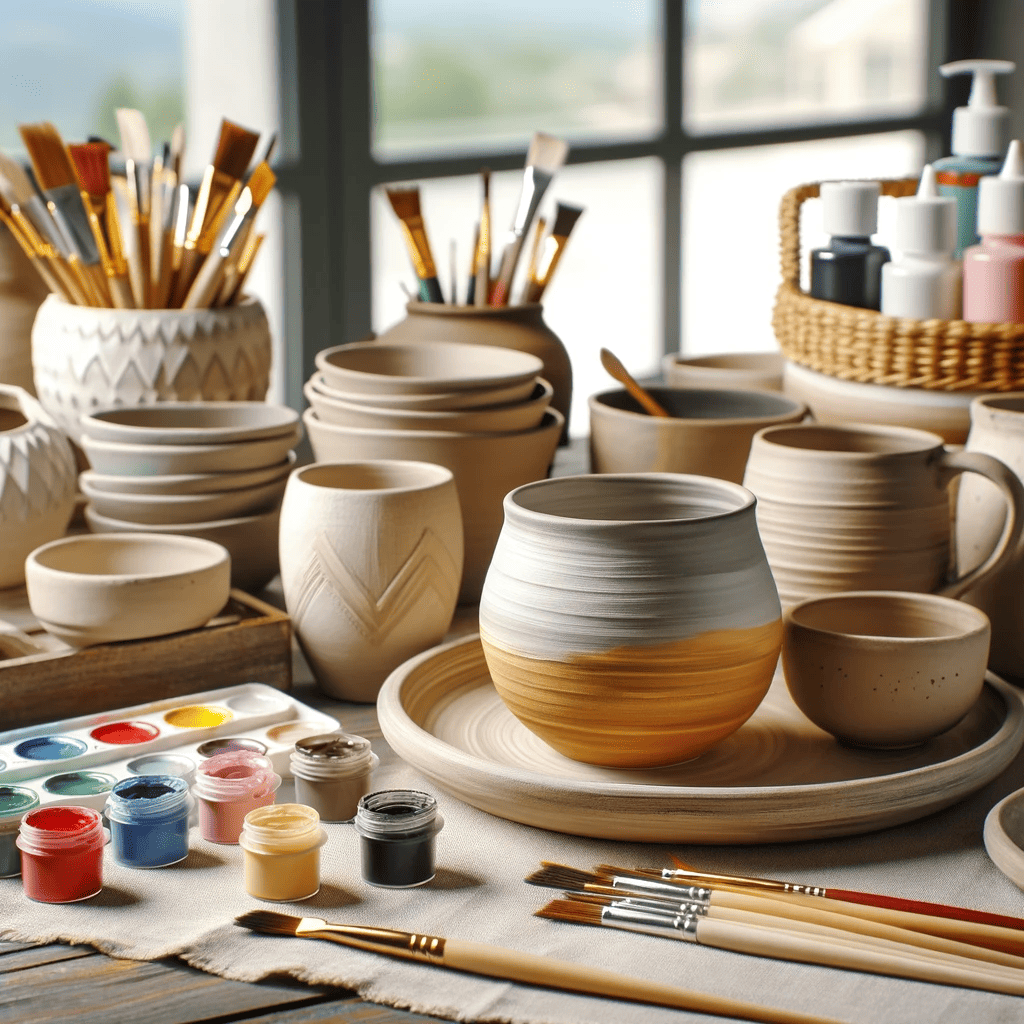
Materials Needed:
- Plain pottery pieces (mugs, plates, etc.)
- Ceramic paints
- Brushes
- Oven (for setting paint)
Instructions:
- Wash and dry your pottery piece.
- Paint your design onto the pottery.
- Allow the paint to dry.
- Bake in the oven (if required by the paint instructions) to set the design. You may need to use a special kiln if the pot is made using clay.
9. Painting by Numbers
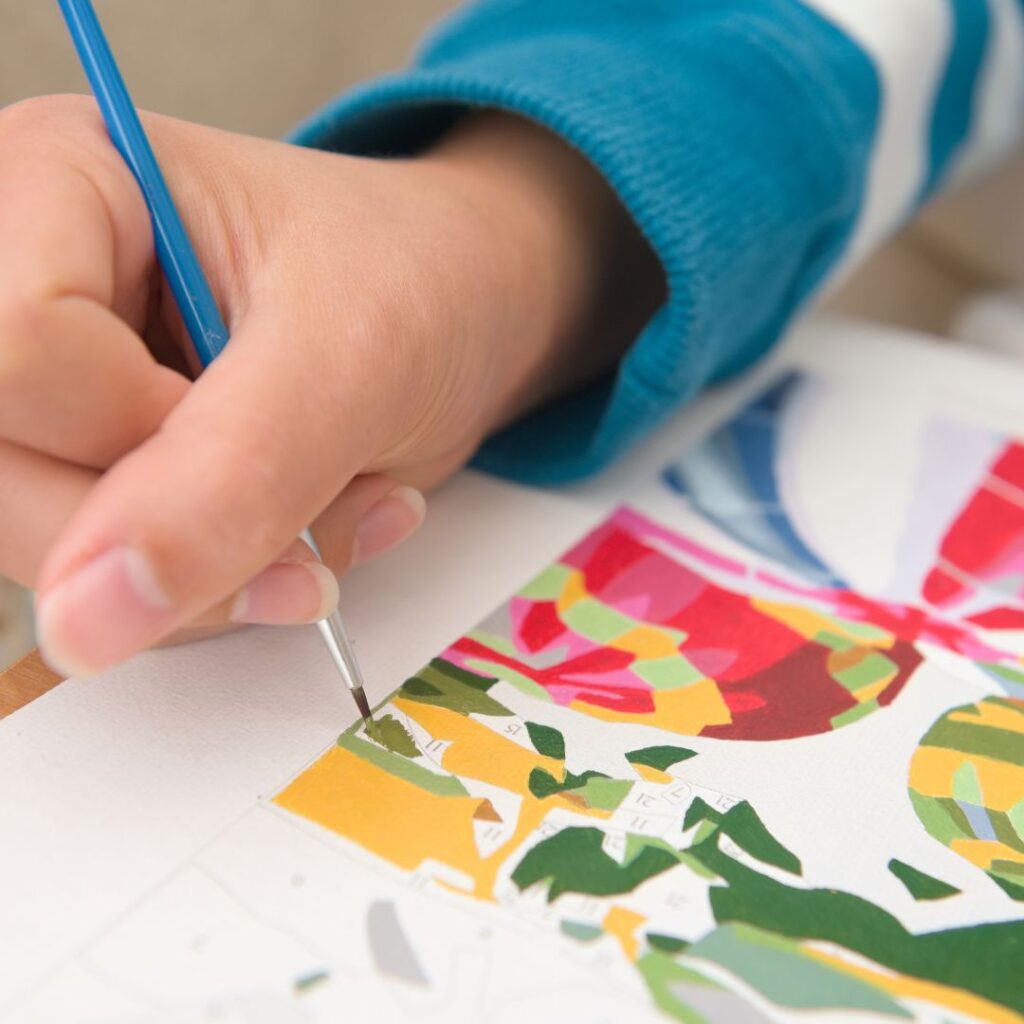
Materials Needed:
- Painting by numbers kit (includes a numbered canvas, paint, and brushes)
Instructions:
- Lay out your canvas and organize the paints.
- Start painting each area with the corresponding numbered paint.
- Continue until all areas are painted.
- Allow the painting to dry before displaying.
10. Pressed Flower Bookmarks

Materials Needed:
- Fresh flowers and leaves
- Heavy books for pressing
- Laminating sheets or clear contact paper
- Scissors
- Ribbon or tassels
Instructions:
- Press flowers and leaves in a heavy book for 7-10 days.
- Arrange the pressed flowers on a sheet of clear contact paper or a laminating sheet.
- Cover with another sheet and seal the edges.
- Cut into a bookmark shape and punch a hole at one end.
- Add a ribbon or tassel.
11. Homemade Bath Bombs
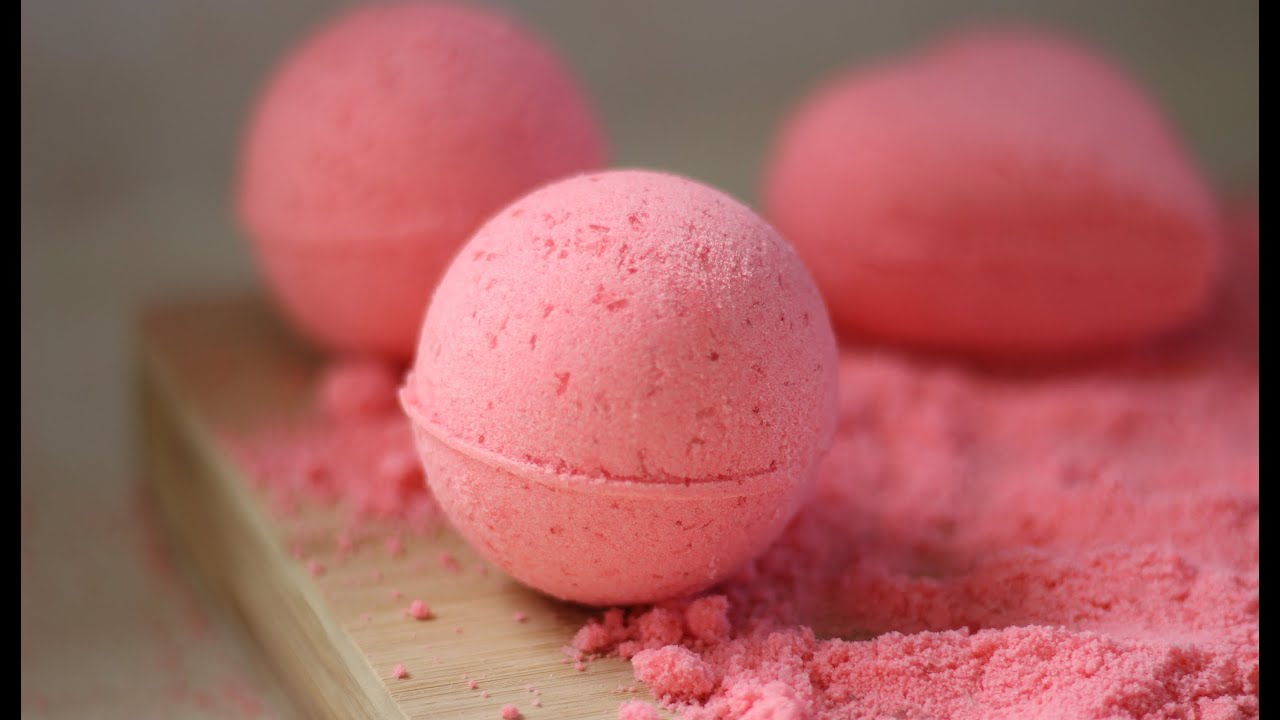
Materials Needed:
- Baking soda
- Citric acid
- Epsom salt
- Essential oils
- Food coloring (optional)
- Molds (silicone or plastic)
Instructions:
- Mix baking soda, citric acid, and Epsom salt.
- Add essential oils and optional food coloring.
- Spritz with water until the mixture holds together.
- Press into molds and let dry for 24 hours.
12. DIY Clay Jewelry Dishes

Materials Needed:
- Oven-bake clay
- Rolling pin
- Cookie cutters or knife
- Oven
- Acrylic paint (optional)
- Clear sealant (optional)
Instructions:
- Roll out the clay to an even thickness.
- Cut out shapes using cookie cutters or a knife.
- Gently form into a dish shape.
- Bake according to the clay instructions.
- Optionally paint and seal the dish.
13. Homemade Sugar Scrub
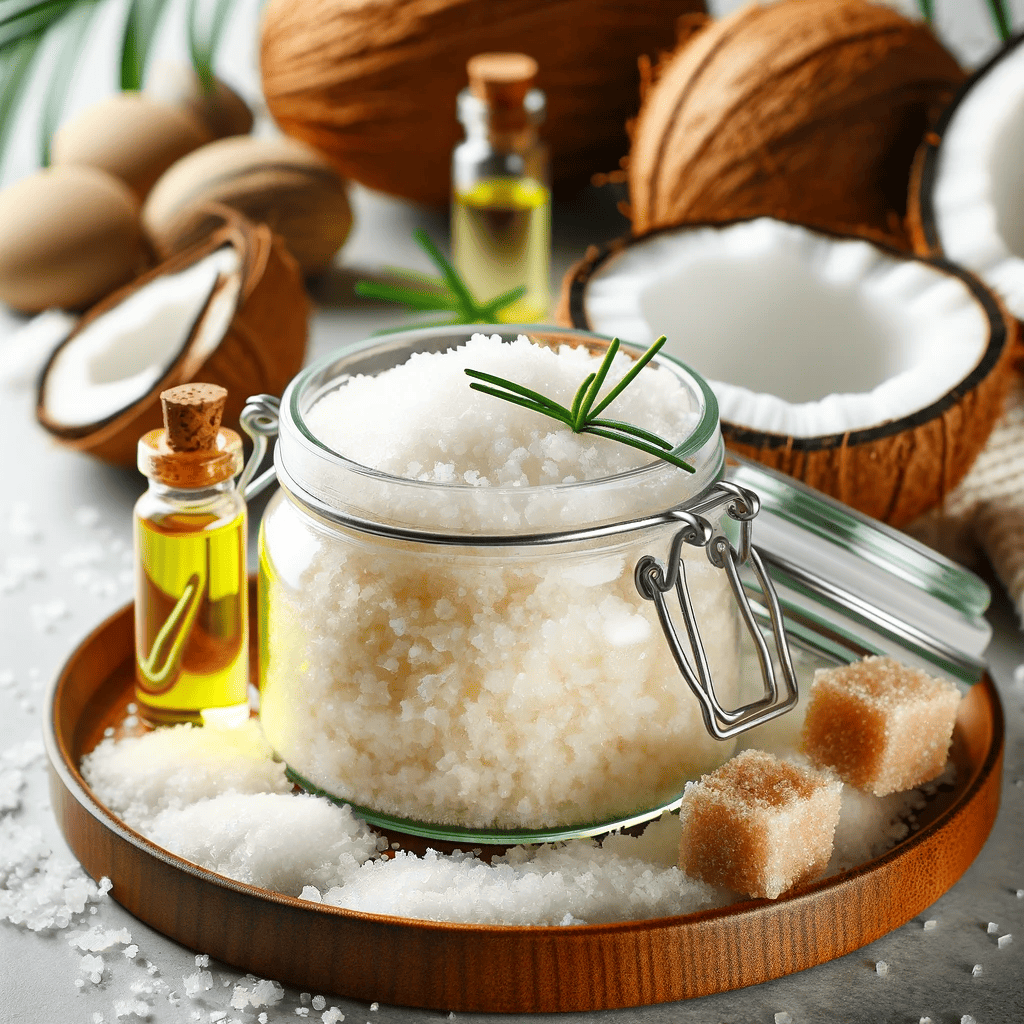
Materials Needed:
- Granulated Sugar: Acts as the primary exfoliant.
- Coconut Oil (or Olive Oil): For moisture and smoothness.
- Essential Oils: For fragrance (e.g., lavender, peppermint).
- Honey: Optional, for additional skin benefits.
- Vitamin E Oil: Optional, for extra nourishment.
- Food Coloring: Optional, for color.
- Airtight Jar: For storage.
- Mixing Bowl.
- Measuring Cups and Spoons.
- Mixing Spoon.
Instructions:
- Measure Sugar:
- Measure out 1 cup of granulated sugar and pour it into the mixing bowl.
- Add Oil:
- Add 1/2 cup of coconut oil (or olive oil) to the sugar. If the oil is solid, gently melt it beforehand.
- Mix Well:
- Thoroughly mix the sugar and oil until well combined.
- Add Essential Oils:
- Add a few drops of your chosen essential oil for fragrance.
- Optional Add-ins:
- If using, add a spoonful of honey and a few drops of vitamin E oil for additional skin benefits.
- Add a drop or two of food coloring if you want a colored scrub.
- Combine Thoroughly:
- Mix all ingredients until they are well combined and the mixture has a consistent texture.
- Transfer to Jar:
- Spoon your finished scrub into an airtight jar for storage.
- Usage:
- Use your homemade sugar scrub on your body, especially on rough areas like elbows and knees. Avoid using it on the face if you have sensitive skin.
- Storage:
- Store the scrub in a cool, dry place. It should last for up to two months.
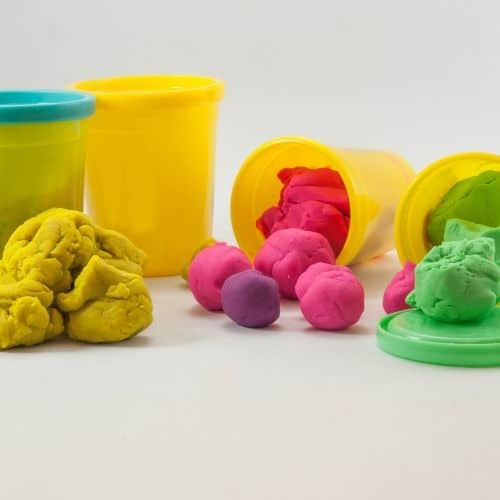
Related : How to make homemade playdough
Was this helpful?
Good job! Please give your positive feedback
How could we improve this post? Please Help us.