Hello creative families! Today, we are going to unlock a world of beach-inspired beauty, creating a DIY shell necklace for kids. This fun and engaging DIY seashell necklace project is sure to bring smiles all around.
Before we jump in, just a note that this blog contains affiliate links. This means that at no extra cost to you, I receive a small commission for any purchases made through these links.
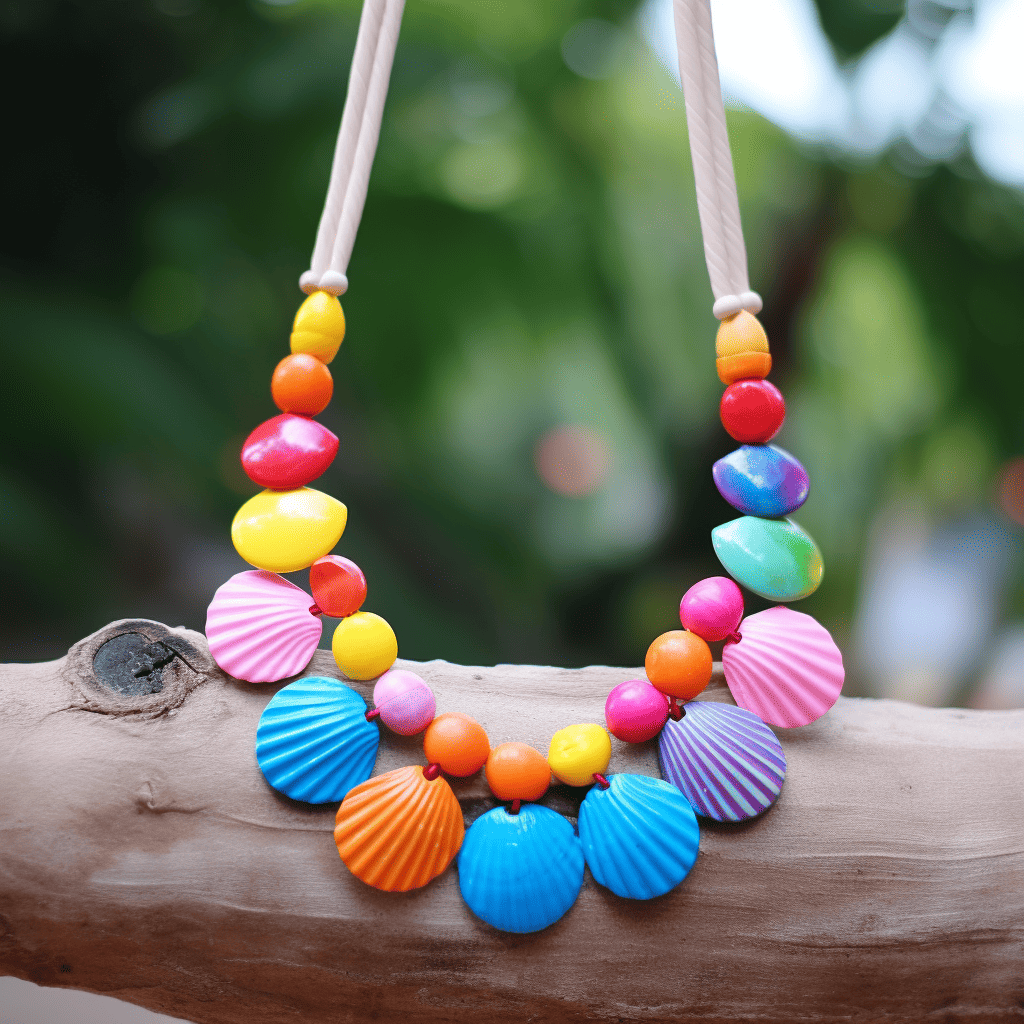
DIY shell Necklace for Kids
First, let’s gather all the following supplies for our DIY shell necklace project:
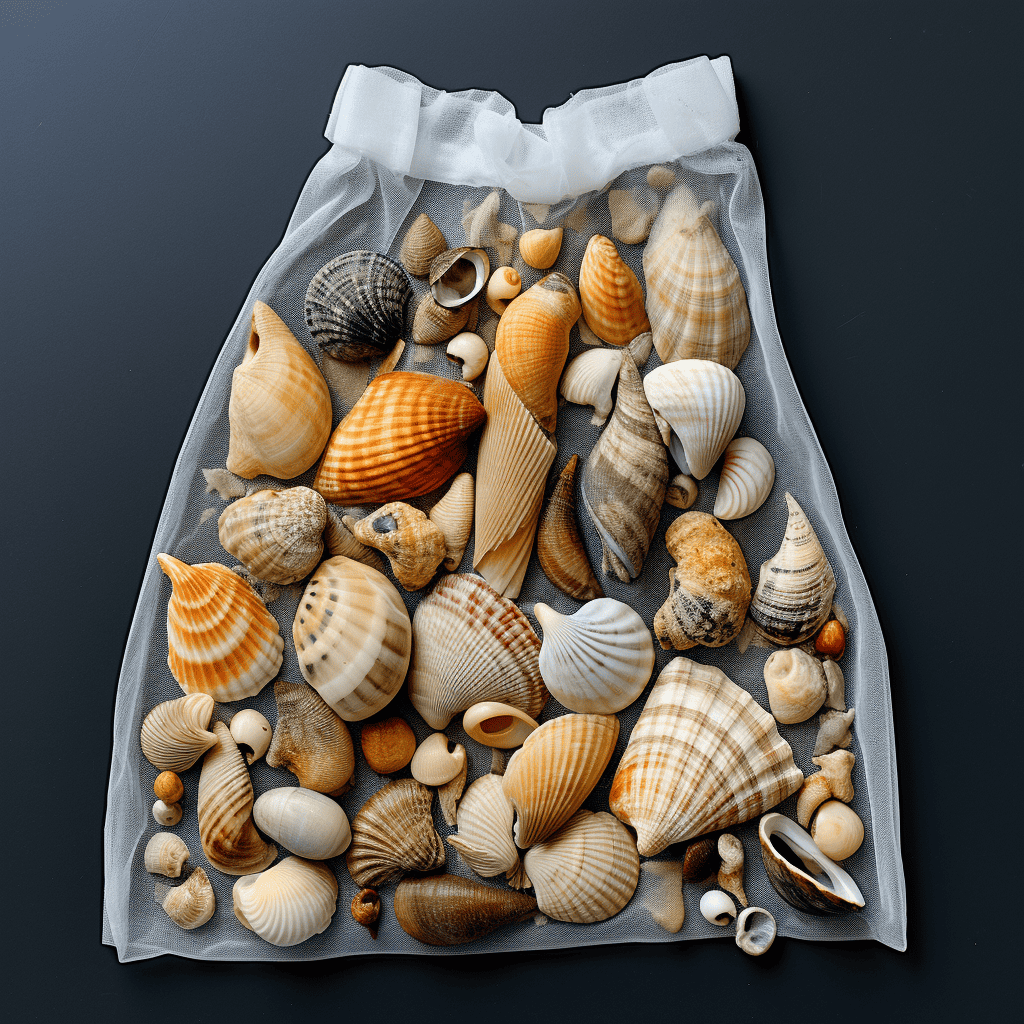
- Collection of beautiful seashells – sea shells, tiny shells, oyster shells, cowrie shells, and perhaps a special conch or puka shell.
- Jewelry wire, a metal ring, pendant bail, small jump ring, and toggle clasps or a lobster claw clasp.
- Beading thread, wax cord, or fishing line.
- Natural beads and pony beads for added charm.
- Crimp beads and crimp ends.
- Alcohol inks in different colors.
- Acrylic sealer.
With these supplies in hand, let’s jump into the full tutorial!
Full Tutorial:
Step 1: Start by selecting your child’s favorite shells. The shells can be of different types, adding variety and character to the necklace.
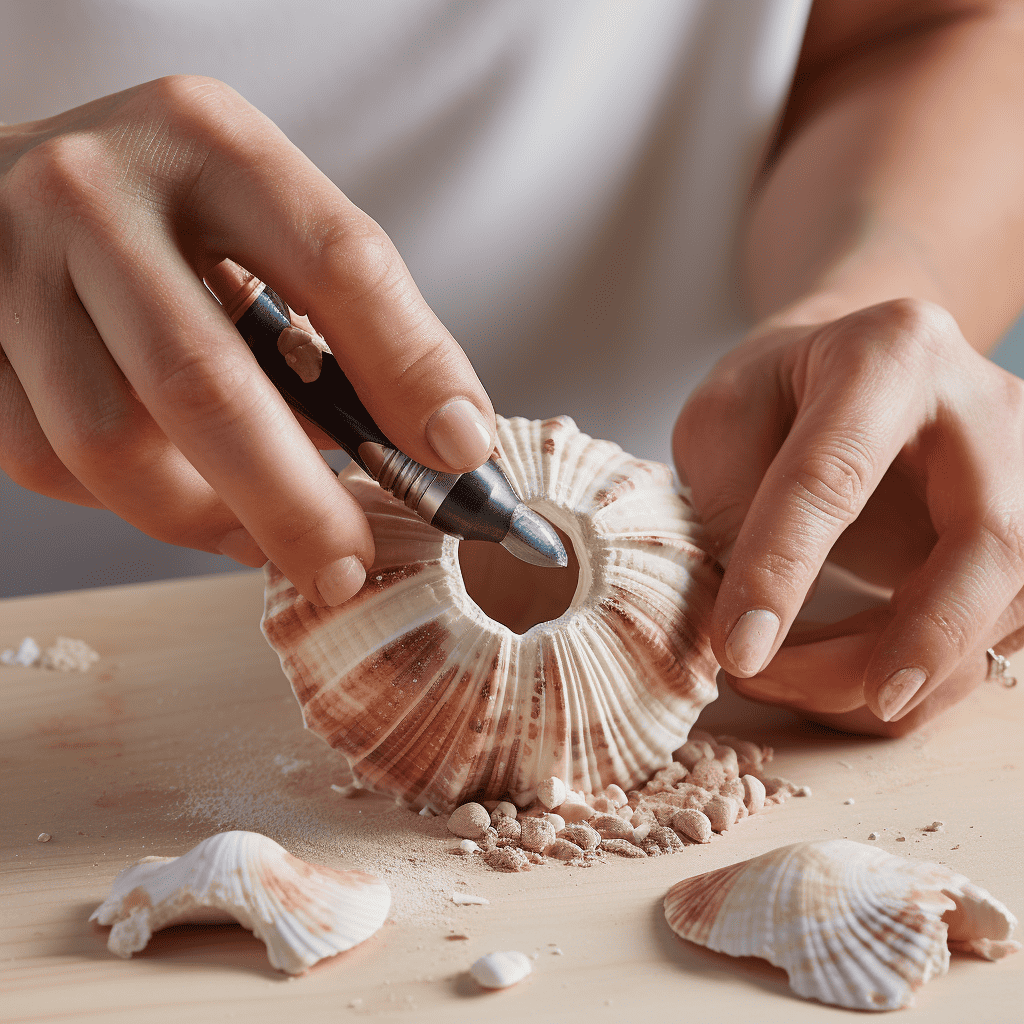
Step 2: If the shells don’t have small holes, adult supervision will be required to drill some. If you’re afraid of drilling, no worries! We’ll explore how to make a shell necklace without a hole in the next section.
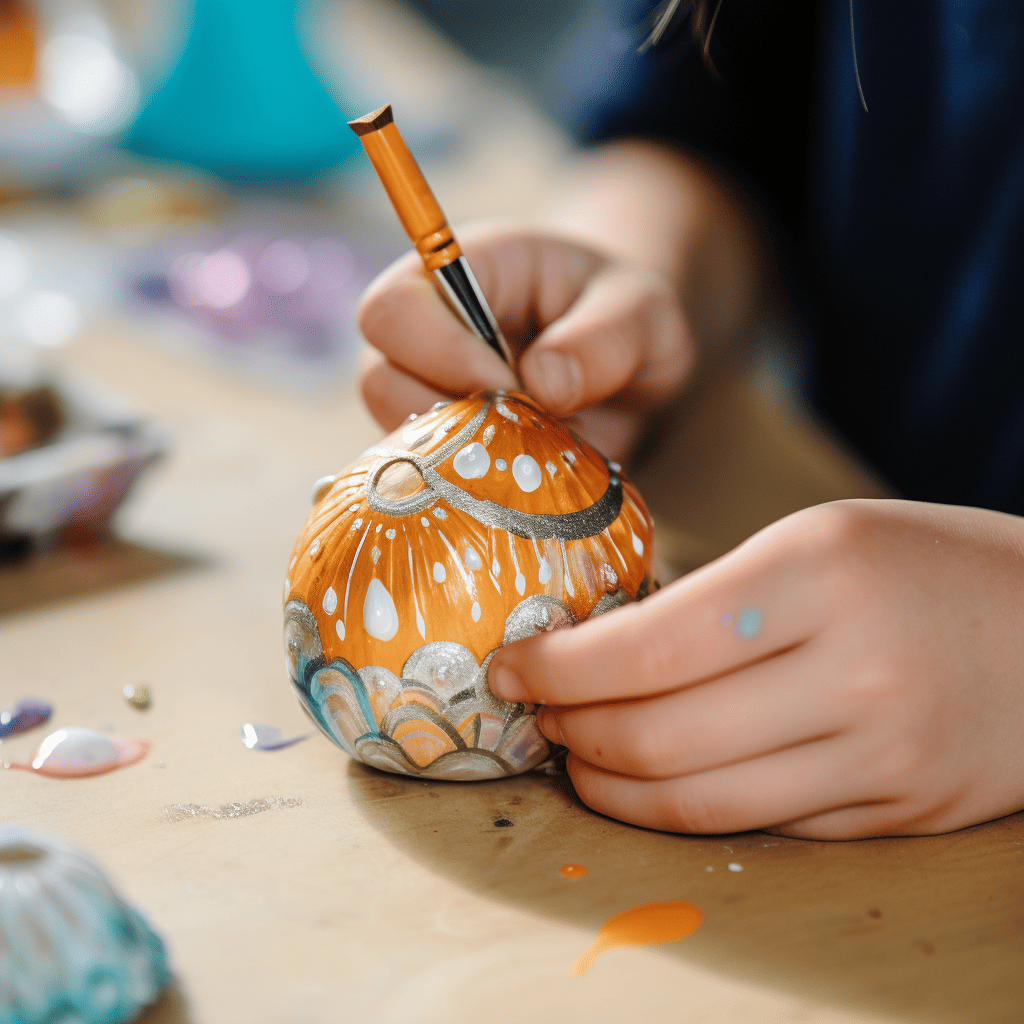
Step 3: Once you have the holes ready, apply alcohol inks to the back of the shells. Let your child’s creativity flow as they paint the shells in different colors.
Step 4: Allow the shells to dry. This could take a couple of weeks.
Step 5: Once dry, apply an acrylic sealer to preserve the color.
Step 6: Thread a piece of string or beading thread through the holes, adding beads and shells in the desired pattern.
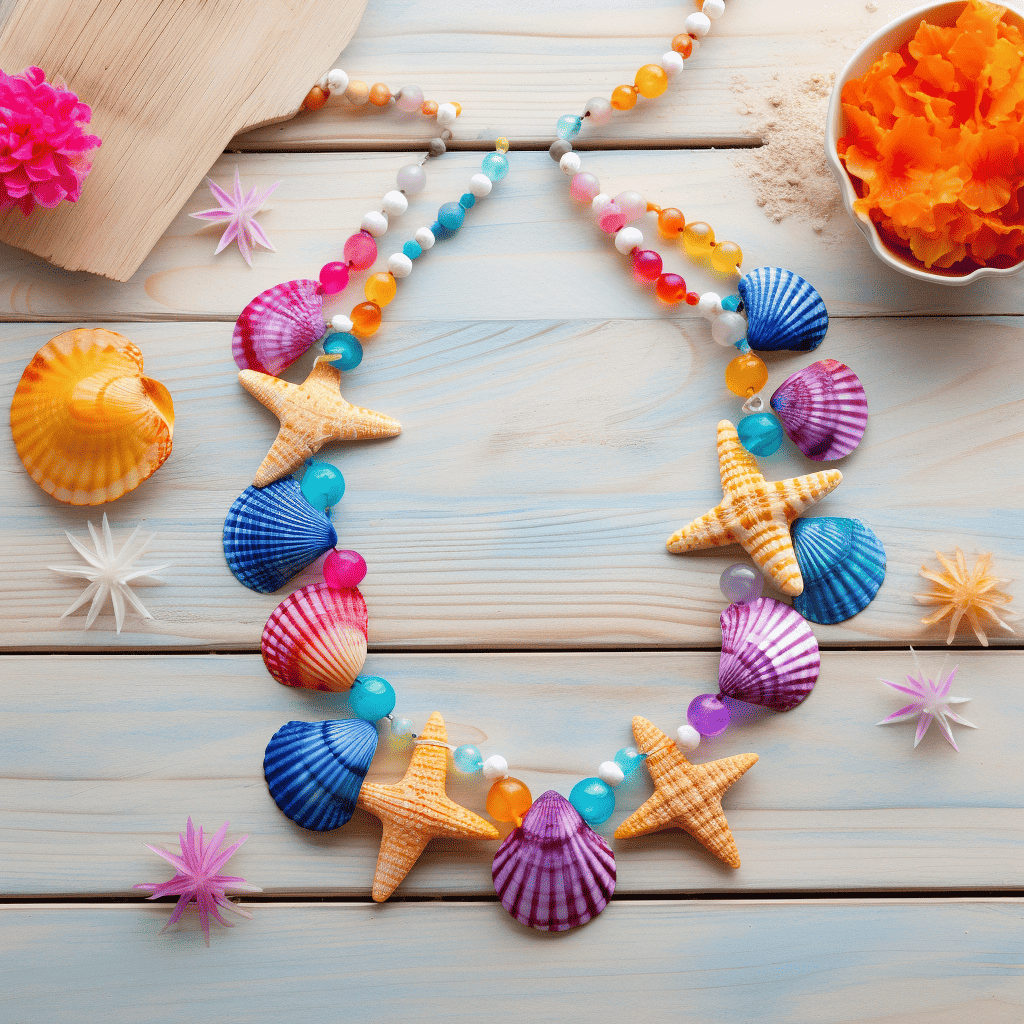
Step 7: When satisfied with the design, secure the necklace with a metal ring, pendant bail, and clasp.
How to Make a Shell Necklace Without a Hole
Not comfortable drilling holes into those precious shells? You can still create a beautiful necklace by gluing the shells onto a bezel pendant or a flat metal ring using a strong adhesive.
Just ensure that the glue you choose is safe for children and strong enough to secure the shell.
How to Make Seashell Necklace Choker
For a seashell necklace choker, you’ll need to measure the length of the necklace to fit tightly around the neck.
Follow the same steps as above, but use wax cord or fishing line for a sturdy hold. And there you go, a lovely choker ready to show off!
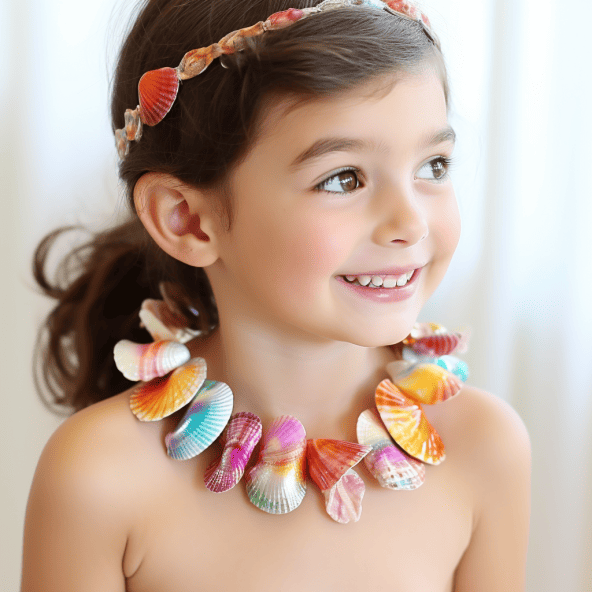
These DIY shell necklaces can turn into a fantastic collection of seashell jewelry, encouraging your child’s creativity and crafting skills.
You can also look forward to creating seashell bracelets, seashell earrings, and even more intricate pieces like a waterfall shell necklace or a DIY silver leaf seashell necklace.
How to Make Seashell Bracelet with Kids
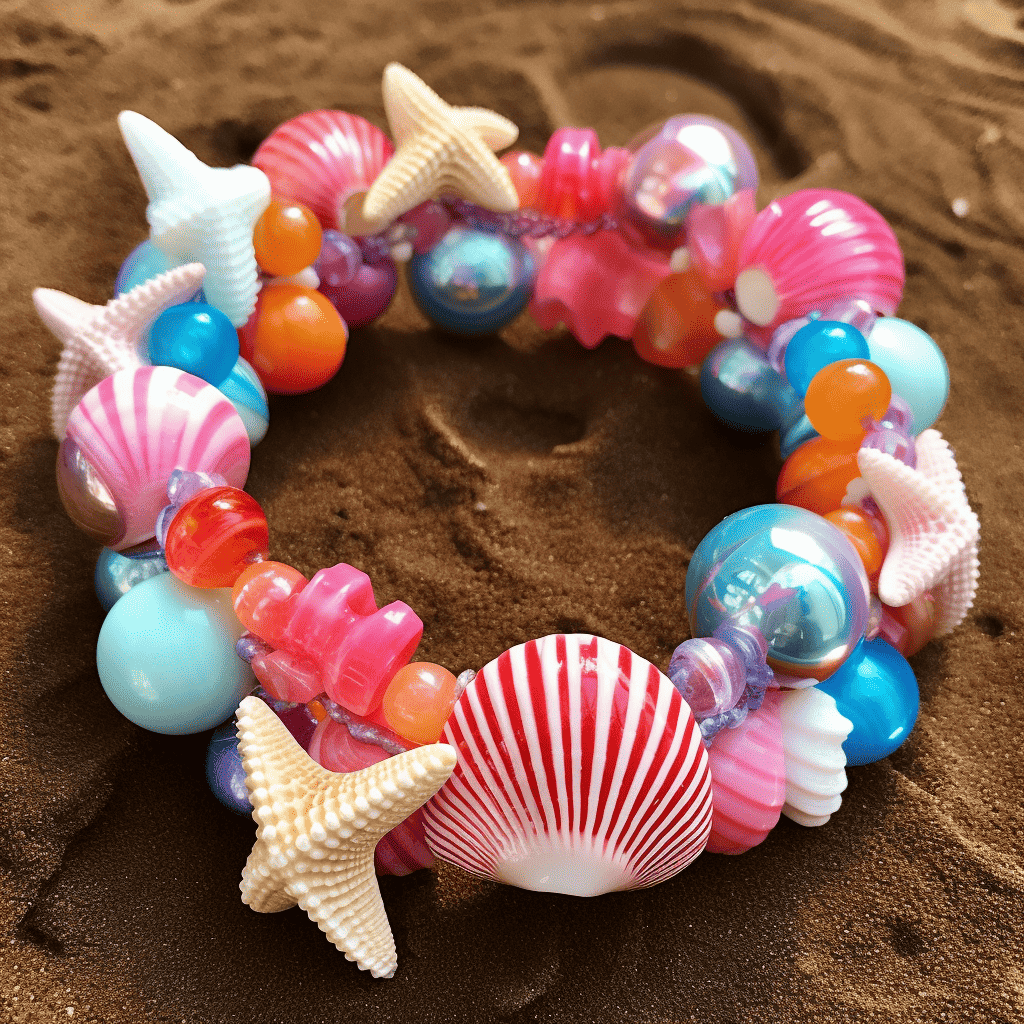
Making seashell bracelets with your kids is not just a fun and engaging activity; it also results in a beautiful piece of jewelry that they can wear with pride.
Let’s dive into a simple and kid-friendly tutorial to create a pretty seashell bracelet.
Materials Needed (same as above):
- Favorite shells: These could include sea shells, tiny shells, cowrie shells, and even small oyster shells.
- Beading thread or wax cord.
- Beads: Pony beads, natural beads, or other small and safe beads.
- Lobster clasp or toggle clasps.
- Alcohol inks in your child’s favorite colors.
- Acrylic sealer.
- A tool to drill small holes in the shells (for adult use only).
Once you’ve gathered all the supplies, it’s time to create!
Step-by-Step Guide:
Step 1: Start by selecting the shells you wish to use. This is a wonderful opportunity to engage your children, let them pick their favorite shells.
Step 2: Adult supervision is required for this step. Drill small holes in each of the shells. Ensure to smooth any sharp edges.
Step 3: Now, it’s time for the kids to paint the shells using the alcohol inks. This activity allows their creativity to shine.
Step 4: Allow the painted shells to dry completely. It might take a few days to a couple of weeks depending on the type of paint and shell.
Step 5: After the shells are dry, apply the acrylic sealer. This step should be done by an adult to ensure the sealer is properly applied.
Step 6: Thread the shells and beads onto the beading thread or wax cord. Kids usually enjoy this part a lot as they can choose their own pattern.
Step 7: Once all the shells and beads are strung, measure the bracelet on your child’s wrist, allowing for a bit of movement but not too loose.
Step 8: Secure the ends of the bracelet with a lobster clasp or toggle clasp.
And there you have it, a charming seashell bracelet made with love and creativity!
This fun-filled activity is sure to keep your little ones engaged and boost their love for crafting. What’s more, they get to wear their creations, showcasing their skills and the beautiful memories created during the process.
Other ways to store beach memories
Certainly, beach treasures hold a special charm for children. They are a tangible piece of the vacation memories, the thrill of exploration, and the wonder of nature’s creations.
Here are some other fun ways to preserve these beach treasures for your little ones:
Memory Jar: One of the simplest and yet most charming ways to keep beach treasures is to store them in a glass memory jar.
Layer sand, shells, pebbles, and other beach finds, and don’t forget to label it with the date and location of your beach trip. These jars can serve as beautiful, sentimental decorations.
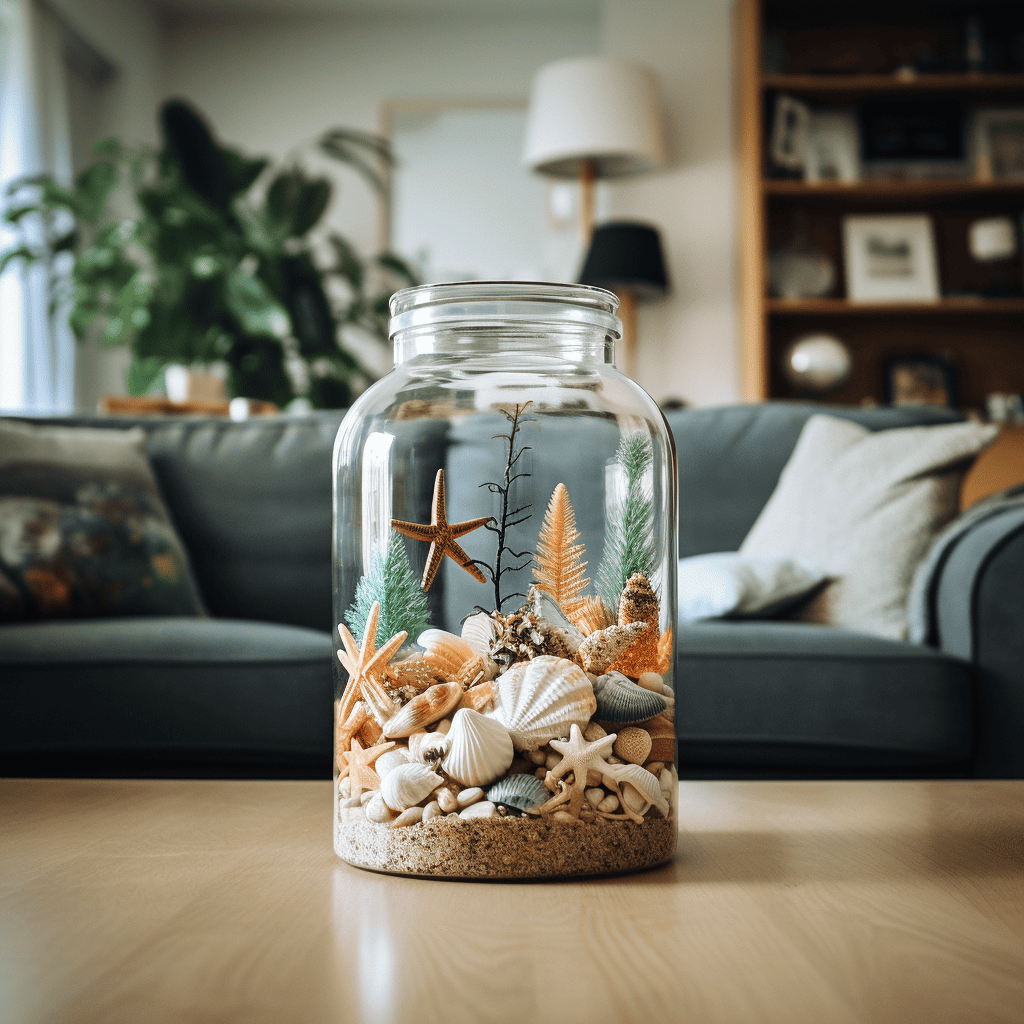
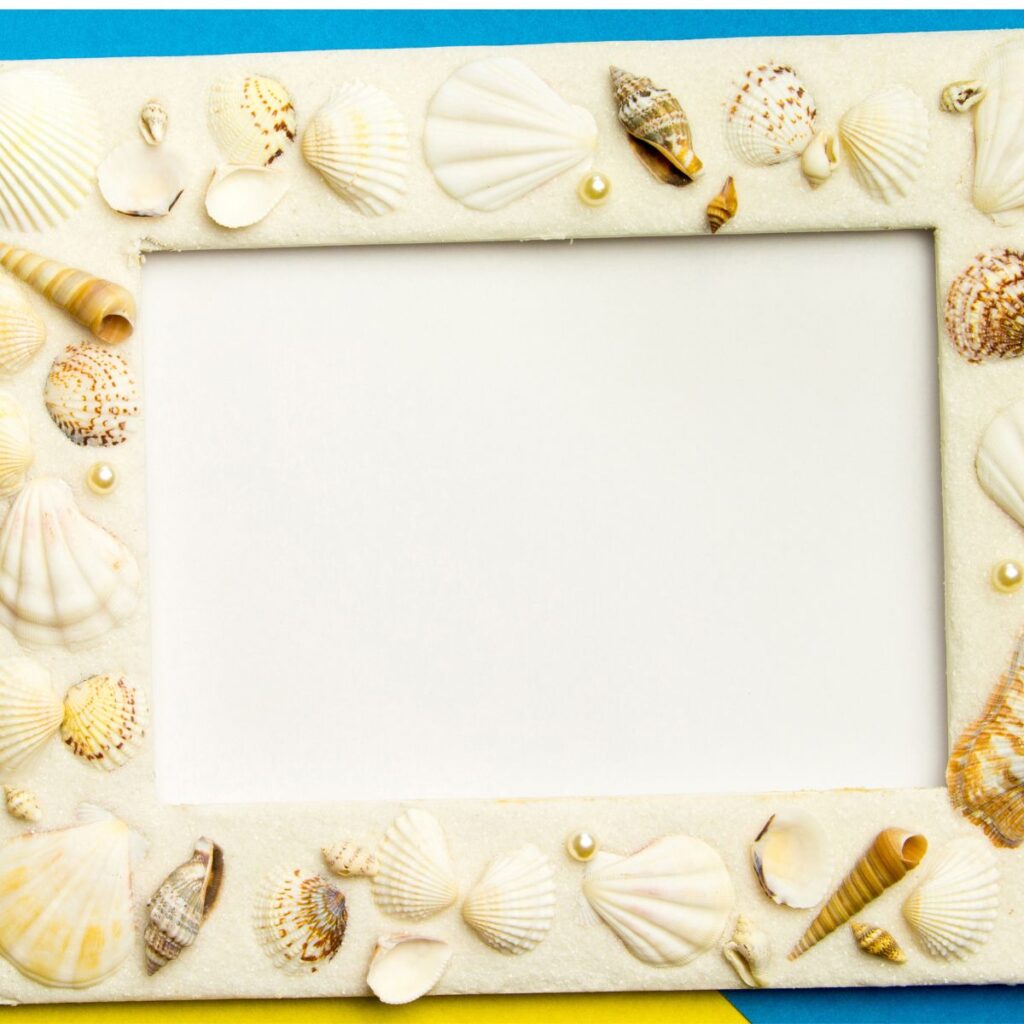
Photo Frame: Glue small shells, sea glass, or sand to the border of a picture frame. Inside, place a favorite photo from the beach trip. This way, you’re creating a frame that is as memorable as the photo inside it.
Beach Memory Box: Similar to the memory jar, a shadow box allows more room for larger treasures or items like starfish, larger shells, or dried seaweed.
You can even include photos, tickets, or other memorabilia from the trip
Beach in a Bottle: For this project, fill a small glass bottle with layers of different colored sands collected from your beach visits. A
dd tiny shells or pebbles and seal the bottle. Attach a label with the name of the beach and the date of your visit.
Rock and Shell Garden: If you have an outdoor space, consider dedicating a small area to create a rock and shell garden using the treasures your kids have collected.
Remember, the goal is to have fun, encourage creativity, and create lasting memories with your kids. Each treasure keeps the joy of the beach alive, long after your footprints in the sand have washed away. Happy crafting!
Related : Time capsule ideas
Was this helpful?
Good job! Please give your positive feedback
How could we improve this post? Please Help us.