Instagram may have started as an app for sharing pictures with friends. But it has now evolved into way more than that. Not only does it present opportunities for social connections, but it does so for business connections as well. Have you ever wondered how to add location to Instagram bio? Then this article is for you.
Get to know an easy way to add your official location to your Instagram bio, how to change your business address, and how to change your location on each different post.
How to add location to Instagram bio?
On Instagram, the bio section is part of your Instagram profile that allows you to signal to your followers and other Instagram users who you are and what you are about. Some users try to keep it simple. In comparison, others cram a lot of information in there.
Your Instagram bio also changes depending on the type of account you have. If it is a personal account, you can do what you want with the space. If it is a business account, keep it official and keep information relevant to your customers there.
There are many good reasons for adding your location to your Instagram bio. Of course, you are not required to do this, especially if you have security reasons. But otherwise, adding your location to your bio differentiates you from other people with the same name. Instagram has 1.318 billion users, after all.
For business accounts, your business location also lets potential customers know where your business is located and if it would be feasible to contact you.
With all that said, what is the exact process for adding your location to your Instagram bio? For a personal Instagram account, the simple steps are as follows:
- First of all, open the Instagram app.
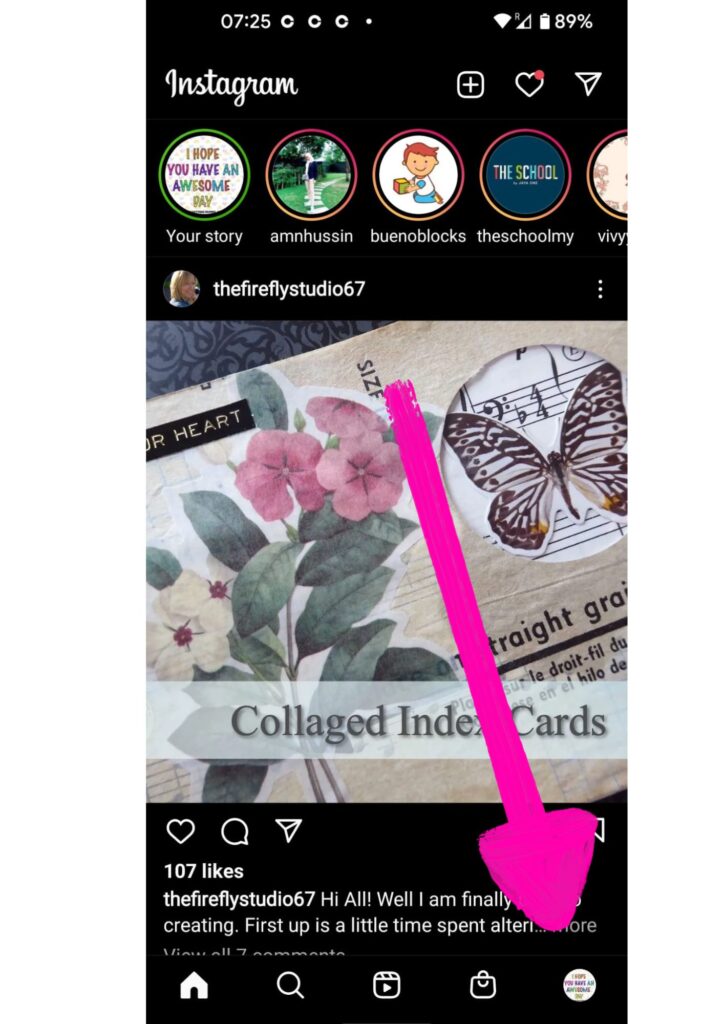
- Then, navigate to the profile section by clicking the icon on the bottom-right corner of the screen
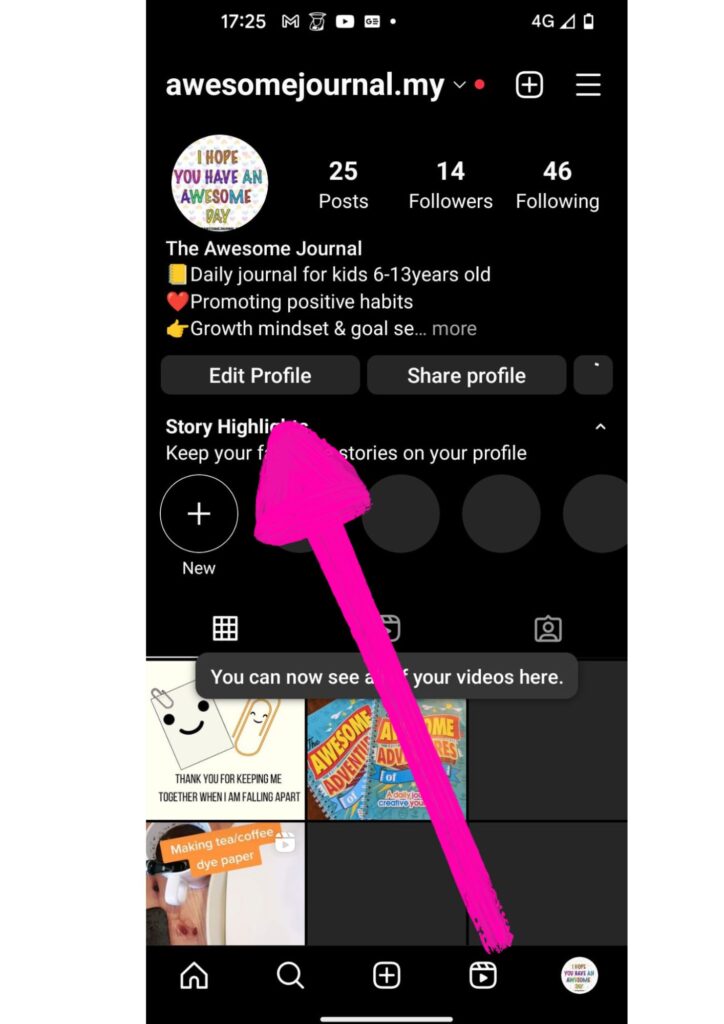
- Once there, click on the edit profile button which is underneath your profile picture and profile information.
- The edit profile page will then open up, giving you the freedom to change a large number of options.
- Scroll down and select the bio option.
- Then, write in your location. You can be as general or as specific as you want.
- When you are done, click the check mark on the top right corner of the screen
- The bio information on your profile page should be updated, including your physical location.
How to add a location on an Instagram business profile?
Many social media platforms have evolved over the years. Instead of a single type of account, you can now have multiple account types on various social media applications depending on your purpose.
A personal account would be best if you want to connect with friends. If you want to become a content creator with numerous followers, creator accounts are available. And finally, if you are a business owner, you should create a business account.
Related: WSP meaning in Instagram, Tik Tok and Snapchat

The relevance of this variety is that different accounts are supported differently by the parent app and have other options available to them. For instance, Instagram gives business accounts more specificity regarding their location information than personal accounts. If you want to know how to add your location to an Instagram business profile, then follow these step-by-step instructions:
- First of all, open your Instagram app.
- Switch from your personal account to your business account if you haven’t already.
- Click on the profile picture icon in the bottom right corner of the screen.
- Once there, click on the edit profile tab under your profile icon and your bio.
- Scroll down the options provided and select the business address.
- You should then be able to fill in the specifics of your business address, such as your street address, city or town, zip code, and even GPS address. This will give potential customers your exact location.
- Within the bio space, you can add more contact information like your phone number or google maps address.
Instagram showing the wrong business address. How to fix?
There are several reasons why you could be experiencing this issue. We shall go through possible solutions below.
If Instagram shows the wrong business address even after you change it, the best solution would be to wait. It takes some time for Instagram to update the information on their end, which may explain why it hasn’t been reflected yet.
If the issue persists, try uninstalling and reinstalling Instagram on your phone. Or try updating the app. The issue could be from your end and not from Instagram.
If this does not fix the issue, ensure your business address on your corresponding Facebook business page has been updated. If the accounts do not match, Instagram will precede the address on Facebook. Remember, both the Facebook and Instagram applications are owned by the same company, Meta.
Finally, if none of these options work, try to contact Instagram support. Their customer service agents will be able to examine the issue on their end and give you a more definite solution.
How to tag a location on an Instagram post, reels and videos?
There are various ways of posting on the Instagram app. You can post standard pictures, on your story, or reels. Across each of these types of posting, there are ways by which you can tag a location. Below, we break down how to do this for each different type of Instagram post with a step-by-step guide.
How to tag a location on an Instagram post:
- Open the Instagram app
- Click on the create button at the bottom-center of the screen.
- Select the photo or video that you want to upload
- Make any edits that you deem necessary and move on to the next page
- At the next page, among the options given, select the “add location” option.
- You should then be able to search for a location or pinpoint your exact location using your phone’s location services and the search bar provided.
- When you are satisfied, share the post.
How to tag location on an Instagram reel:
- Open the Instagram app
- Click on the create button at the bottom-center of the screen.
- Scroll among the options provided and select reel.
- Make the real and edit it until you are satisfied.
- Go to the next page and check if the reel is as you want it.
- Then, go to the next page and from the options provided, select “add location.”
- You can then search through possible locations or pinpoint your exact location using your phone’s GPS services.
- Then, share the reel.
How to tag location on an Instagram story:
- The first thing is to open the Instagram app
- Click on the create button at the bottom-center of the screen.
- Scroll among the options provided and select story.
- Create the story post to you satisfaction
- Click on the sticker icon at the top of the screen
- Next step, select the location sticker from the options provided
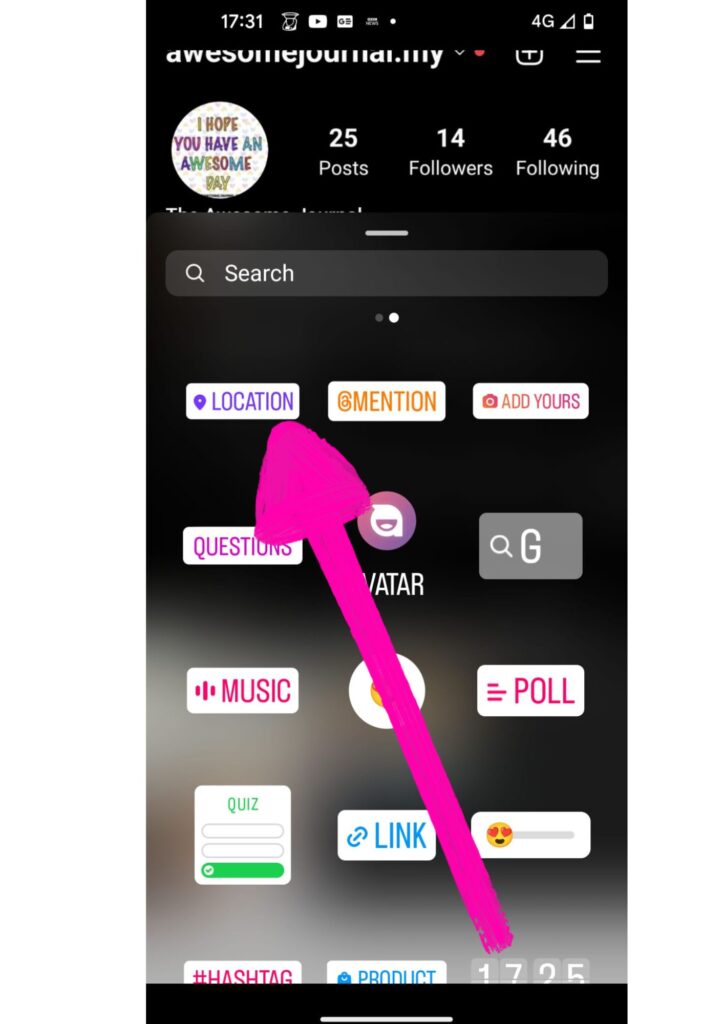
- You can then search through possible locations or pinpoint your current location using your phone’s GPS services.
- Then, share the story.
Conclusion
So, you see, adding your specific location to your Instagram posts is quite easy. This allows you to communicate better with your followers and get more engagement.
Was this helpful?
Good job! Please give your positive feedback
How could we improve this post? Please Help us.


